

Professionals Microcement Kit for Sparkle Effect 100% Waterproof Bathroom Floors
You can view the installation guide for each of the products that you have by clicking on the images below. The products that you have will depend on the selection you made when you ordered the kit. The process varies between products, so make sure you check what you have before you start (see checklist).
-
Introduction
Introduction
This guide contains everything you need to know about the application of the microcement products in your kit. The short video will help you to understand how Io navigate the training, as will the written introduction.
Introduction to Your Training
-
Step 1
Primers + Mesh
Which Products?
The following products are needed for this step. You might find it helpful to gather them together so you can see what you’re working with.
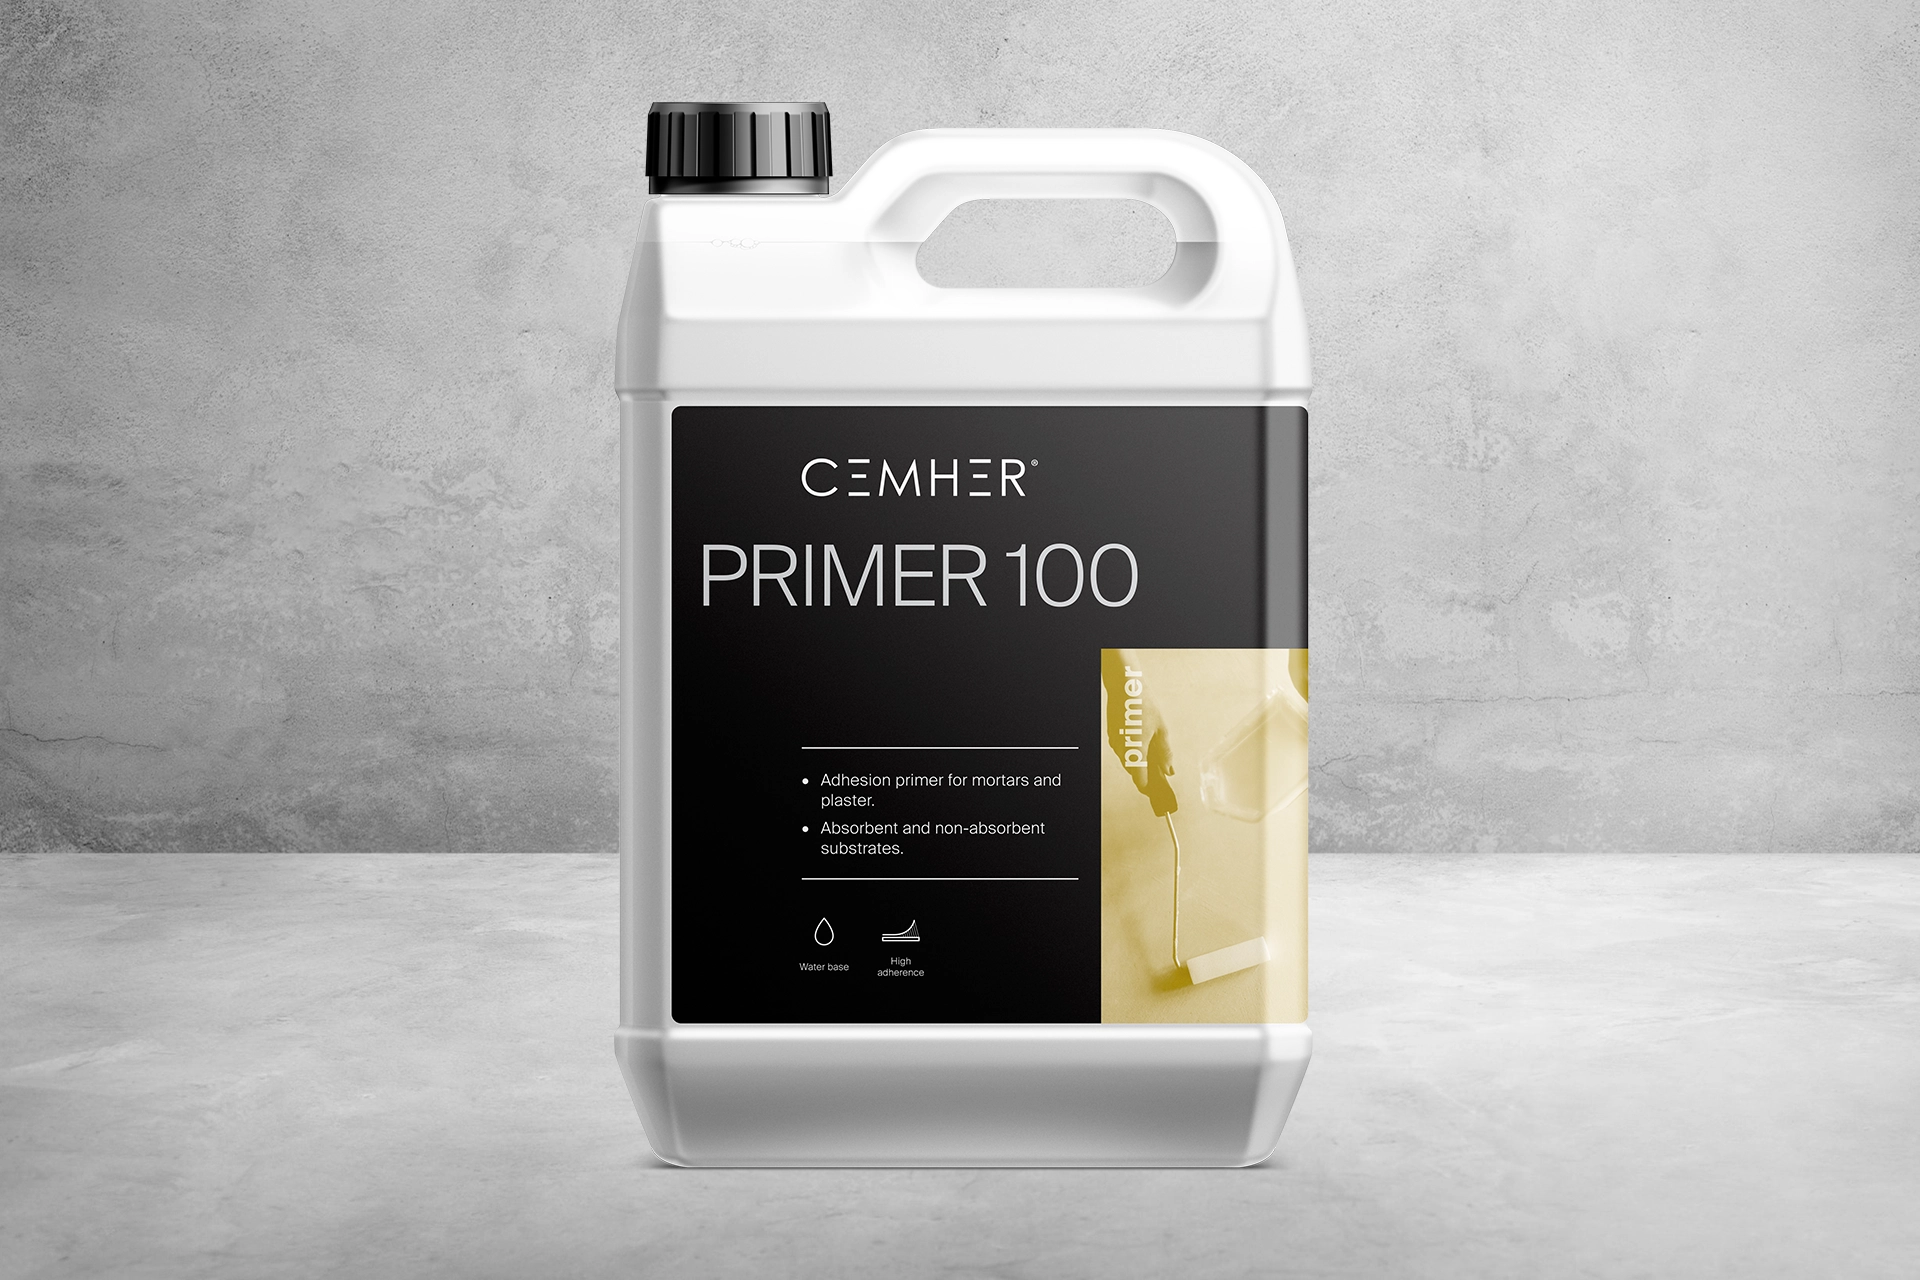
Cemher Primer 100

Fibreglass Mesh for Floors
Fibreglass Mesh for Walls & Surfaces

Cemher ImpriPox

Quartz Sand
Surface Prep
Before you prime and mesh it’s essential that your surface is completely flat, dry and well-consolidated, so that there is no chance of movement. Use a small amount of Joint Filler or a filler that is suitable for the substrate, to flush out joins and counter-sunk screwholes. Then sand until the surface is completely flat. See surface prep for full details of preparing surfaces for microcement.
Applying Primer 100 & Fibreglass Mesh
Fibreglass mesh adds strength to your microcement and adds strength to the substrate. Cut the mesh to size & then flip it over so that it curls towards the surface. You might find it easier to use Self Adhesive Fibreglass Mesh on corners.
Use a medium pile roller to apply an even coat of primer to the surface and mesh.
The primer should help to hold the mesh in place, but thats not it’s primary purpose, it’s more important to get full, even coverage over the area. If the mesh isn’t sticking, then use stainless steel staples to hold it in place instead.
Primer 100 is a thick, high-quality product. To get the full consumption out of the bottle, you may need a little water. Add up to 10% water & shake to get all of the primer out of the container.
Highly Absorbent Surfaces, Like Fresh Plaster & Concrete
On highly absorbent surfaces, like freshly laid concrete or fresh plaster, use Primer 100 mixed with water at a ratio of 50:50 before applying a neat coat. Similar to a mist coat of paint, this will prevent the primer from sitting on the surface and create a strong bond between surface and microcement. The primer needs to sink into the substrate to take hold, which is where the water comes in.
After around 1 hour it should be dry enough to take a neat coat of Primer 100. If the substrate is very absorbent, you might need extra primer to complete this stage.
Leave to Dry
Leave the primer to dry. This should take around 1 hour. Primer 100 will lose it’s tack after 12 hours, so you will need to make sure you apply the 1st base coat within 12 hours or apply another coat of Primer 100 when you are ready to start the base coats.
When to Choose High Performance Primer
We highly recommend that you choose this option if you are working on load-bearing horizontal surfaces that have joins e.g. OSB/Ply/MDF/Cement Board flooring, or across transitions between shower trays and surrounding floors. It also helps to strengthen concrete surfaces that have cracked, however the cracks should be repaired in advance. It’s also useful for bridging joins between boards in furniture and worktops.
This primer also helps to inhibit moisture and stains from transferring through from your substrate.
If you think you need High Performance Primer but haven’t got it in your kit, the products are also available to buy separately.
Surface Prep
Before you prime and mesh it’s essential that your surface is completely flat, dry and well-consolidated, so that movement has been eliminated. For more information on preparing surfaces for microcement, please see the surface prep section of our website.
Introduction to ImpriPox, Mesh & Quartz Sand
ImpriPox is a 2-part epoxy primer that will bond the Fibreglass Mesh to your substrate, adding strength and creating a strong, solid base for your microcement.
The Impripox will ensure a uniform drying rate across the microcement surface and block stains in the substrate transferring through to you microcement.
It is particularly good at stopping small cracks in concrete floors and joins between boards being transferred through from the substrate to the microcement. The chance of movement must still be eliminated in advance.
Tools you’ll Need
You’ll need the following tools in order to successfully apply the microcement:
- Knife to cut the mesh
- Weighing scales or measuring jug
- Mixing bucket
- Squeegee Trowel
- PPE suitable for working with epoxy
Prepare the Mesh
Cut the mesh to size & then flip it over so that it curls towards the surface. If you are microcementing over both the walls and floor, you can use Self-Adhesive Fibreglass Mesh around the perimeter of the room to bridge the join between the wall and floor, followed by Fibreglass Mesh for Floors right into the corner. This will ensure you get a strong bond across both surfaces.
Mix the ImpriPox
Mix the ImpriPox with ImpriPox Hardener in a mixing bucket and stir gently with a paint stirrer or Microcement Mixer on a low speed for a few minutes.
The Mix Ratio is 5 x ImpriPox : 2 x ImpriPox Hardener
For every 10m2 you’ll need around 2l ImpriPox : 800ml ImpriPox Hardener. If there are a lot of voids in the surface that need filling with the Impripox, you may need more.
This mixture will cover around 10m2 when trowelled over the mesh. If you have less than 10m2, weigh or measure the volume of each product to ensure the ratio is accurate. If the ratio is wrong, the products may not set.
You will have a working time of around 1 hour once the ImpriPox has been mixed with the hardener.
Applying the ImpriPox
Use the Squeegee Trowel to apply an even coat of ImpriPox over the surface and mesh. You’ll need to ensure you have completely filled any voids in the sub-floor (e.g. grout lines, joins and screw holes) and also completely covered the mesh.
Applying Quartz Sand
Whilst the ImpriPox is still wet, spread the quartz sand across the surface. You can scatter it by hand, starting at the entrance to the room and walking on the sand into the room. Or by walking on the ImpriPox with spiked shoes.
Leave to Dry
Leave to dry. This should take around 12 hours depending on temperature and ventilation.
Sand & Vacuum Loose Sand
Once dry, run an orbital sander or floor sander over the surface to ensure it is completely flat. Then vacuum off the loose sand.
Apply Primer 100
In most cases, you’ll need to use Primer 100 on top of the ImpriPox and Sand before applying the microcement.
Use a medium pile roller to apply an even coat of primer to the surface. Leave the primer to dry. This should take around 1 hour.
No Primer 100 is required for MicroPool.
Cemher Primer 100
Highly Absorbent Surfaces All Other Surfaces Process Highly Absorbent Surfaces: 1 x Diluted Coat
1 x Neat CoatAll Other Surfaces: 1 x Neat Coat Mix Ratio Highly Absorbent Surfaces: Diluted Coat:
50% Water / 50% Primer 100
Neat Coat:
Maximum 10% WaterAll Other Surfaces: Maximum 10% Water Standard Consumption Highly Absorbent Surfaces: 1l per 4 - 6m2 All Other Surfaces: 1l per 8 - 10m2 Estimated Drying Time Highly Absorbent Surfaces: Diluted Coat:
30 minutes
No Maximum
Neat Coat:
Minimum 30 minutes
Maximum 12 hoursAll Other Surfaces: Minimum 30 minutes
Maximum 12 hoursTools Required Highly Absorbent Surfaces: Medium Microfibre Roller
Roller TrayAll Other Surfaces: Medium Microfibre Roller
Roller TraySafety & PPE Highly Absorbent Surfaces: Nitrile gloves
Eye protection
Ensure adequate ventilation throughoutAll Other Surfaces: Nitrile gloves
Eye protection
Ensure adequate ventilation throughoutFibreglass Mesh for Floors
Fibreglass Mesh for Walls & Surfaces Fibreglass Mesh for Floors Process Fibreglass Mesh for Walls & Surfaces: Apply over entire surface Fibreglass Mesh for Floors: Apply over entire surface Standard Consumption Fibreglass Mesh for Walls & Surfaces: 1m2 per 1m2 Fibreglass Mesh for Floors: 1m2 per 1m2 Tools Required Fibreglass Mesh for Walls & Surfaces: Utility Knife Fibreglass Mesh for Floors: Utility Knife Safety & PPE Fibreglass Mesh for Walls & Surfaces: Wear Protective Gloves Fibreglass Mesh for Floors: Wear Protective Gloves
Fibreglass Mesh for Walls & Surfaces
Fibreglass Mesh for Walls & Surfaces Fibreglass Mesh for Floors Process Fibreglass Mesh for Walls & Surfaces: Apply over entire surface Fibreglass Mesh for Floors: Apply over entire surface Standard Consumption Fibreglass Mesh for Walls & Surfaces: 1m2 per 1m2 Fibreglass Mesh for Floors: 1m2 per 1m2 Tools Required Fibreglass Mesh for Walls & Surfaces: Utility Knife Fibreglass Mesh for Floors: Utility Knife Safety & PPE Fibreglass Mesh for Walls & Surfaces: Wear Protective Gloves Fibreglass Mesh for Floors: Wear Protective Gloves Cemher ImpriPox
Internal Floors & Worktops Process Internal Floors & Worktops: 1 x Coat of Impripox over Fibreglass Mesh
Scatter Quartz Sand, whilst wet, over the surface until saturatedMix Ratio Internal Floors & Worktops: 1l Impripox : 400ml Impripox Comp B
4l Impripox : 1.6l Impripox Comp BStandard Consumption Internal Floors & Worktops: 1l + 400ml per 5m2 Estimated Drying Time Internal Floors & Worktops: Minimum 12 hours
Maximum 36 hours without sand
No maximum with sandTools Required Internal Floors & Worktops: Mechanical Mixer
Clean Mixing Bucket
Squeegee TrowelSafety & PPE Internal Floors & Worktops: Nitrile gloves — essential, dispose of after use
Eye protection — essential
Ensure adequate ventilation throughout
Keep away from heat and ignition sources
Avoid skin contact - may cause skin sensitisationCemher Primer 100
Fibreglass Mesh for Floors
Fibreglass Mesh for Walls & Surfaces
-
Step 2
Base Coats
Which Products?
The following products are needed for this step. You might find it helpful to gather them together so you can see what you’re working with.
Cemher Microne Base

Cemher Microne Plus Comp B
Mixing 1st Coat of Microne Base without Colour
In order to set a neutral foundation, it’s best to apply the 1st base coat without any colour toner. If you ordered a kit, you will be supplied enough colour toner for the 2nd base coat only.
To loosen the mix, mix thoroughly with a microcement mixer head attachment on a cordless drill. If it still feels stiff, you can add up to 10% water to loosen & mix further. That’s a maximum of 1l per 10kg.
Let the mixture rest for a few minutes before applying.
Applying the Microne Base
Using a Microcement Trowel, work your way out from one corner creating a random edge pattern. Keep trowel movements small and random, avoid long sweeping arches – as these will show through to your final finish.
Use the grain in the microcement as your level – if you apply the microcement thicker than the size of the grain, the finish won’t be as strong and will require a lot more sanding. Run the trowel back over each section that you have put down to smooth it out and remove excess product. You should still be able to see the mesh after applying this coat.
Completely coat each surface without stopping. For complete rooms, start with ceilings, then walls from left to right (or right to left) and then the floor.
Run your finger or a corner trowel along internal corners to push the microcement into the corner and then gently trowel away the excess product.
Large Floor Areas
For large floor areas, you may find it quicker to use a Squeegee Trowel to apply your 1st base coat.
If you choose to do this, add 1l water (maximum) to the mix & stir well.
Pour the Microcement along the width of the room and use the Squeegee to flatten it out over the floor so that it is no thicker than the grain in all areas.
Complete around a metre before wiping the excess off the trowel and going back over the area to remove any raised lines & remove any excess product, before moving onto the next section.
Sanding the 1st Base Coat
If your trowel technique is correct, the surface should be flat & even after the 1st base coat, so you shouldn’t need to sand it.
However, if there are ridges in the surface, or the coverage across the area isn’t even, then we do recommend that you sand the 1st base coat before moving on.
Wait until the surface is dry, this should take around 3 hours, but will depend on the conditions.
Use a 40-grit sanding disc to sand evenly across the area, removing any ridges, high spots & imperfections.
Ensure the surface is free from dust before applying the 2nd base coat directly onto the surface (no additional primer is needed).
Mixing 2nd Coat of Microne Base
Add 1 x Hint of Colour for Microne Base to the tub and mix thoroughly. You can add a small amount of water to the bottle and shake thoroughly to get all of the toner out of the bottle.
Unlike the Top Coats, the colour for Microne Base is not an accurate match to the swatch, it’s just enough to take it in the right direction before Top Coats are applied.
To loosen the mix, mix thoroughly with a microcement mixer head attachment on a cordless drill. If it still feels stiff, you can add up to 10% water to loosen & mix further. That’s a maximum of 1l per 10kg.
Let the mixture rest for a few minutes before applying.
Applying the Microne Base
Apply the 2nd Coat of Microne Base in exactly the same way as the 1st coat. You can apply the microcement directly onto the previous coat, there’s no need to prime in between them.
Using a Microcement Trowel, work your way out from one corner creating a random edge pattern. Keep trowel movements small and random, avoid long sweeping arches – as these will show through to your final finish.
Use the grain in the microcement as your level – if you apply the microcement thicker than the size of the grain, the finish won’t be as strong and will require a lot more sanding. Run the trowel back over each section that you have put down to smooth it out and remove excess product. You should still be able to see the mesh after applying this coat.
Completely coat each surface without stopping. For complete rooms, start with ceilings, then walls from left to right (or right to left) and then the floor.
Run your finger or a corner trowel along internal corners to push the microcement into the corner and then gently trowel away the excess product.
On external corners, let the excess fall over the corner, then with your trowel flat against the surface, trowel away from the corner.4
Leave to Dry
This should take around 3 hours but may vary depending on temperature and humidity.
Sand with 40 or 80 Grit Sand Paper
Once the Base Coats are dry and before you apply your Top Coats, you need to make sure the Base Coats are completely flat. Use a strong sandpaper, like Silicone Carbide, to prevent colour from the disc transferring to your work.
Flatten the Microne Base with a 40 or 80 grit sandpaper. An orbital sander is ideal, but, for smaller areas, you can do it by hand, and for large floors, you can use a floor sander.
Use the sandpaper to remove ridges and drips that have dried in the microcement, tidy edges. Take particular care around open edges, like shower wastes to ensure you have a clean, tidy edge.
The Top Coats are very thin so any ridges or imperfections in the base coats will be visible in the Top Coats. Take your time to get it completely flat before moving on to the next step.
Vacuum the surface to remove all dust and debris. Do not wet the microcement.
Microcement Sanding Discs are available from Relentless Microcement.
Mixing 1st Coat of Microne Base without Colour
If you chose the “Microne Plus Base” option when you ordered, you will have 1 bottle of Microne Plus Comp B for every tub of Microne Base. Adding 1 x Microne Plus Comp B to each of the tubs, will make the surface stronger, more resistant to heat and more stain resistant.
Add 500g Microne Plus to 10kg Tub of Microne & mix well with a microcement mixer. That’s a mix ratio of 1:20.
Once mixed, you’ll have 2 hours working time, so only mix what you need and make sure you’re ready to apply it straight away.
In order to set a neutral foundation, it’s best to apply the 1st base coat without any colour toner. If you ordered a kit, you will be supplied enough colour toner for the 2nd base coat only.
Let the mixture rest for a few minutes before applying.
Applying the Microne Plus Base
Using a Microcement Trowel, work your way out from one corner creating a random edge pattern. Keep trowel movements small and random, avoid long sweeping arches – as these will show through to your final finish.
Use the grain in the microcement as your level – if you apply the microcement thicker than the size of the grain, the finish won’t be as strong and will require a lot more sanding. Run the trowel back over each section that you have put down to smooth it out and remove excess product. You should still be able to see the mesh after applying this coat.
Completely coat each surface without stopping. For complete rooms, start with ceilings, then walls from left to right (or right to left) and then the floor.
Run your finger or a corner trowel along internal corners to push the microcement into the corner and then gently trowel away the excess product.
Large Floor Areas
For large floor areas, you may find it quicker to use a Squeegee Trowel to apply your 1st base coat.
If you choose to do this, add 1l water (maximum) to the mix & stir well.
Pour the Microcement along the width of the room and use the Squeegee to flatten it out over the floor so that it is no thicker than the grain in all areas.
Complete around a metre before wiping the excess off the trowel and going back over the area to remove any raised lines & remove any excess product, before moving onto the next section.
Sanding the 1st Base Coat
If your trowel technique is correct, the surface should be flat & even after the 1st base coat, so you shouldn’t need to sand it.
However, if there are ridges in the surface, or the coverage across the area isn’t even, then we do recommend that you sand the 1st base coat before moving on.
Wait until the surface is dry, this should take around 3 hours, but will depend on the conditions.
Use a 40-grit sanding disc to sand evenly across the area, removing any ridges, high spots & imperfections.
Ensure the surface is free from dust before applying the 2nd base coat directly onto the surface (no additional primer is needed).
Mixing 2nd Coat of Microne Plus Base
If you chose the “Microne Plus Base” option when you ordered, you will have 1 bottle of Microne Plus Comp B for every tub of Microne Plus Base. Adding 1 x Microne Plus Comp B to each of the tubs, will make the surface stronger, more resistant to heat and more stain resistant.
Add 500g Microne Plus Comp B to 10kg Tub of Microne & mix well with a microcement mixer. That’s a mix ratio of 1:20.
Once mixed, you’ll have 2 hour working time, so only mix what you need and make sure you’re ready to apply it straight away.
Add 1 x Hint of Colour for Microne Base to the tub and mix thoroughly. You can add a small amount of water to the bottle and shake thoroughly to get all of the toner out of the bottle.
Unlike the Top Coats, the colour for Microne Base is not an accurate match to the swatch, it’s just enough to take it in the right direction before Top Coats are applied.
To loosen the mix, mix thoroughly with a microcement mixer head attachment on a cordless drill. If it still feels stiff, you can add up to 10% water to loosen & mix further. That’s a maximum of 1l per 10kg.
Let the mixture rest for a few minutes before applying.
Applying the Microne Plus Base
Apply the 2nd Coat of Microne Plus Base in exactly the same way as the 1st coat. You can apply the microcement directly onto the previous coat, there’s no need to prime in between them.
Using a Microcement Trowel, work your way out from one corner creating a random edge pattern. Keep trowel movements small and random, avoid long sweeping arches – as these will show through to your final finish.
Use the grain in the microcement as your level – if you apply the microcement thicker than the size of the grain, the finish won’t be as strong and will require a lot more sanding. Run the trowel back over each section that you have put down to smooth it out and remove excess product. You should still be able to see the mesh after applying this coat.
Completely coat each surface without stopping. For complete rooms, start with ceilings, then walls from left to right (or right to left) and then the floor.
Run your finger or a corner trowel along internal corners to push the microcement into the corner and then gently trowel away the excess product.
On external corners, let the excess fall over the corner, then with your trowel flat against the surface, trowel away from the corner.
Leave to Dry
This should take around 3 hours but may vary depending on temperature and humidity.
Sand with 40 or 80 Grit Sand Paper
Once the Base Coats are dry and before you apply your Top Coats, you need to make sure the Base Coats are completely flat. Use a strong sandpaper, like Silicone Carbide, to prevent colour from the disc transferring to your work.
Flatten the Microne Plus Base with a 40 or 80 grit sandpaper. An orbital sander is ideal, but, for smaller areas, you can do it by hand, and for large floors, you can use a floor sander.
Use the sandpaper to remove ridges and drips that have dried in the microcement, tidy edges. Take particular care around open edges, like shower wastes to ensure you have a clean, tidy edge.
The Top Coats are very thin so any ridges or imperfections in the base coats will be visible in the Top Coats. Take your time to get it completely flat before moving on to the next step.
Vacuum the surface to remove all dust and debris. Do not wet the microcement.
Microcement Sanding Discs are available from Relentless Microcement.
Cemher Microne Base
Process 1 x Microne Base (No Colour)
1 x Microne Base (With Colour)Mix Ratio Pre-mixed
To Loosen: 10% Water (Maximum)Standard Consumption 20kg per 10m2 Estimated Drying Time Between Coats:
Minimum 3 hours
No Maximum
Before Sealers:
Minimum 12 hours
No MaximumTools Required Microcement Trowel
Hawk & Bucket Trowel
Microcement Mixer
PPESafety & PPE Nitrile gloves
Eye protection
Respiratory mask/extraction when sanding
Ensure adequate ventilation throughoutCemher Microne Plus Comp B
Process Apply 2 Coat Microne Base Plus Mix Ratio 10kg Microne: 500ml Microne Plus Comp B Standard Consumption 20kg per 10m2 Estimated Drying Time Between Coats:
Minimum 3 hours
No Maximum
Before Sealers:
Minimum 12 hours
No MaximumTools Required Microcement Trowel
Microcement MixerSafety & PPE Nitrile gloves
Eye protection
Ensure adequate ventilation throughoutCemher Microne Base
Cemher Microne Plus Comp B
-
Step 3
Top Coats
Which Products?
The following products are needed for this step. You might find it helpful to gather them together so you can see what you’re working with.
Cemher Microne Medium Continuous

Cemher Glass Crystals 1kg
Cemher Microne Plus Comp B
Mixing the 1st Coat Microne Medium with Glass Crystals
You will need 10kg of Microne Medium with Crystals to complete 1 coat over 10m2.
Mix the Microne thoroughly to ensure an even distribution of colour.
Then add 1kg Glass Crystals to 10kg Microne Medium & mix gently on a slow speed. Take care not to mix too aggressively as this could cause the Crystals to break down.
Applying the 1st Coat Microne Medium with Crystals
Use a Microcement Trowel and hold hold it quite flat to the surface. Don’t put as much pressure on as you did with the base coats to avoid the crystals leaving drag marks across the surface.
Gently spread the crystals across the area so that you have full coverage and drag marks are minimised.
Leave to Dry
Leave the Microcement to dry. With crystals in the mix, this often takes more time than standard Microcement. Allow up to 12 hours. Drying times do vary depending on temperature and ventilation.
Mixing 2nd Coat Microne Medium
You will need 5kg per 10m2 for your final Microne Medium.
Mix thoroughly to ensure the colour is well distrbuted.
Do not add glass crystals.
Let the mixture rest for a few minutes before applying.
Applying 2nd Coat Microne Medium
Use this coat to glide over the previous one, filling in any imperfections as you go. Because there’s no crystals in it, you go can a lot thinner with this coat.
Leave to Dry
The microcement needs to be fully dry before sealer is applied. If not the microcement will not reach full hardness and could de-laminate.
Moisture content should be less than 5% before sealer is applied.
The timings below are for guidance only, your microcement may take longer to dry depending on temperature and humidity.
Leave to dry for at least 12 hours.
Sand with 40, 80 & 120 Grit Silicone Carbide Sand Paper
Sand with 40 grit sand paper to reveal the crystals in the microcement. This will be a lot easier with an orbital sander than by hand.
Once you have revealed a good, even spread of crystals, move onto the 80 grit sand paper and give the whole area another sand.
Finally, use a 120 grit sand paper to tidy up your wark and close in the pours.
Vacuum the surface to remove all dust and debris. Do not wet the microcement.
We stock a range of Microcement Sanding Discs on our website.
Mixing the 1st Coat of Microne Medium with Glass Crystals
Microne Medium is pre-mixed with the colour in the tub, all you need to do is give it a mix before you start to loosen it and make sure the colour is evenly distributed.
Then add Microne Plus Comp B to the Microne Medium at a ratio of 500ml Microne Plus Comp B : 10kg Microne Medium and mix well.
Finally, add 1kg Glass Crystals & mix gently on a slow speed. Take care not to mix too aggressively as this could cause the Terrazzo flakes to break down.
You will need 10kg of Microne Medium with Glass Crystals to complete 1 coat over 10m2.
Applying the 1st Coat Microne Medium with Crystals
Use a Microcement Trowel and hold hold it quite flat to the surface. Don’t put as much pressure on as you did with the base coats to avoid the crystals leaving drag marks across the surface.
Gently spread the crystals across the area so that you have full coverage and drag marks are minimised.
Leave to Dry
Leave the Microcement to dry. With crystals in the mix, this often takes more time than standard Microcement. Allow up to 12 hours. Drying times do vary depending on temperature and ventilation.
Mixing 2nd Coat Microne Medium
The microcement is pre-mixed and the colour has been added to the tub, so all you need to do is give it a good mix to Tensure the colour is evenly distributed. hen add 500g Microne Plus to 10kg Tub of Microne & mix well with a microcement mixer. That’s a mix ratio of 1:20.
Once the Microne Plus has been added to the tub, you’ll have around 2 hours working time, so only mix it when you’re ready to use it. And mix in batches if you have a large area.
Do not add Glass Crystals to this mix.
Applying 2nd Coat Microne Medium
Use this coat to glide over the previous one, filling in any imperfections as you go. Because there’s no crystals in it, you go can a lot thinner with this coat.
Leave to Dry
The microcement needs to be fully dry before sealer is applied. If not the microcement will not reach full hardness and could de-laminate.
Moisture content should be less than 5% before sealer is applied.
The timings below are for guidance only, your microcement may take longer to dry depending on temperature and humidity.
Leave to dry for at least 12 hours.
Sand with 40, 80 & 120 Grit Silicone Carbide Sand Paper
Sand with 40 grit sand paper to reveal the crystals in the microcement. This will be a lot easier with an orbital sander than by hand.
Once you have revealed a good, even spread of crystals, move onto the 80 grit sand paper and give the whole area another sand.
Finally, use a 120 grit sand paper to tidy up your wark and close in the pours.
Vacuum the surface to remove all dust and debris. Do not wet the microcement.
We stock a range of Microcement Sanding Discs on our website.
Cemher Microne Medium Continuous
Process 2 x Coats Microne Medium Mix Ratio Pre-mixed in tub
Maximum 10% water to loosenStandard Consumption 10kg per 10m2 Estimated Drying Time Between Coats:
Minimum 30 minutes
No Maximum
Before Sealers:
Minimum 12 hours
No MaximumTools Required Microcement Trowel
Microcement Mixer
PPESafety & PPE Nitrile gloves
Eye protection
Respiratory mask/extraction when sanding
Ensure adequate ventilation throughoutCemher Microne Plus Comp B
Process Apply 2 Coat Microne Base Plus Mix Ratio 10kg Microne: 500ml Microne Plus Comp B Standard Consumption 20kg per 10m2 Estimated Drying Time Between Coats:
Minimum 3 hours
No Maximum
Before Sealers:
Minimum 12 hours
No MaximumTools Required Microcement Trowel
Microcement MixerSafety & PPE Nitrile gloves
Eye protection
Ensure adequate ventilation throughoutCemher Microne Medium Continuous
Cemher Microne Plus Comp B
-
Step 4
Sealers
Which Products?
The following products are needed for this step. You might find it helpful to gather them together so you can see what you’re working with.
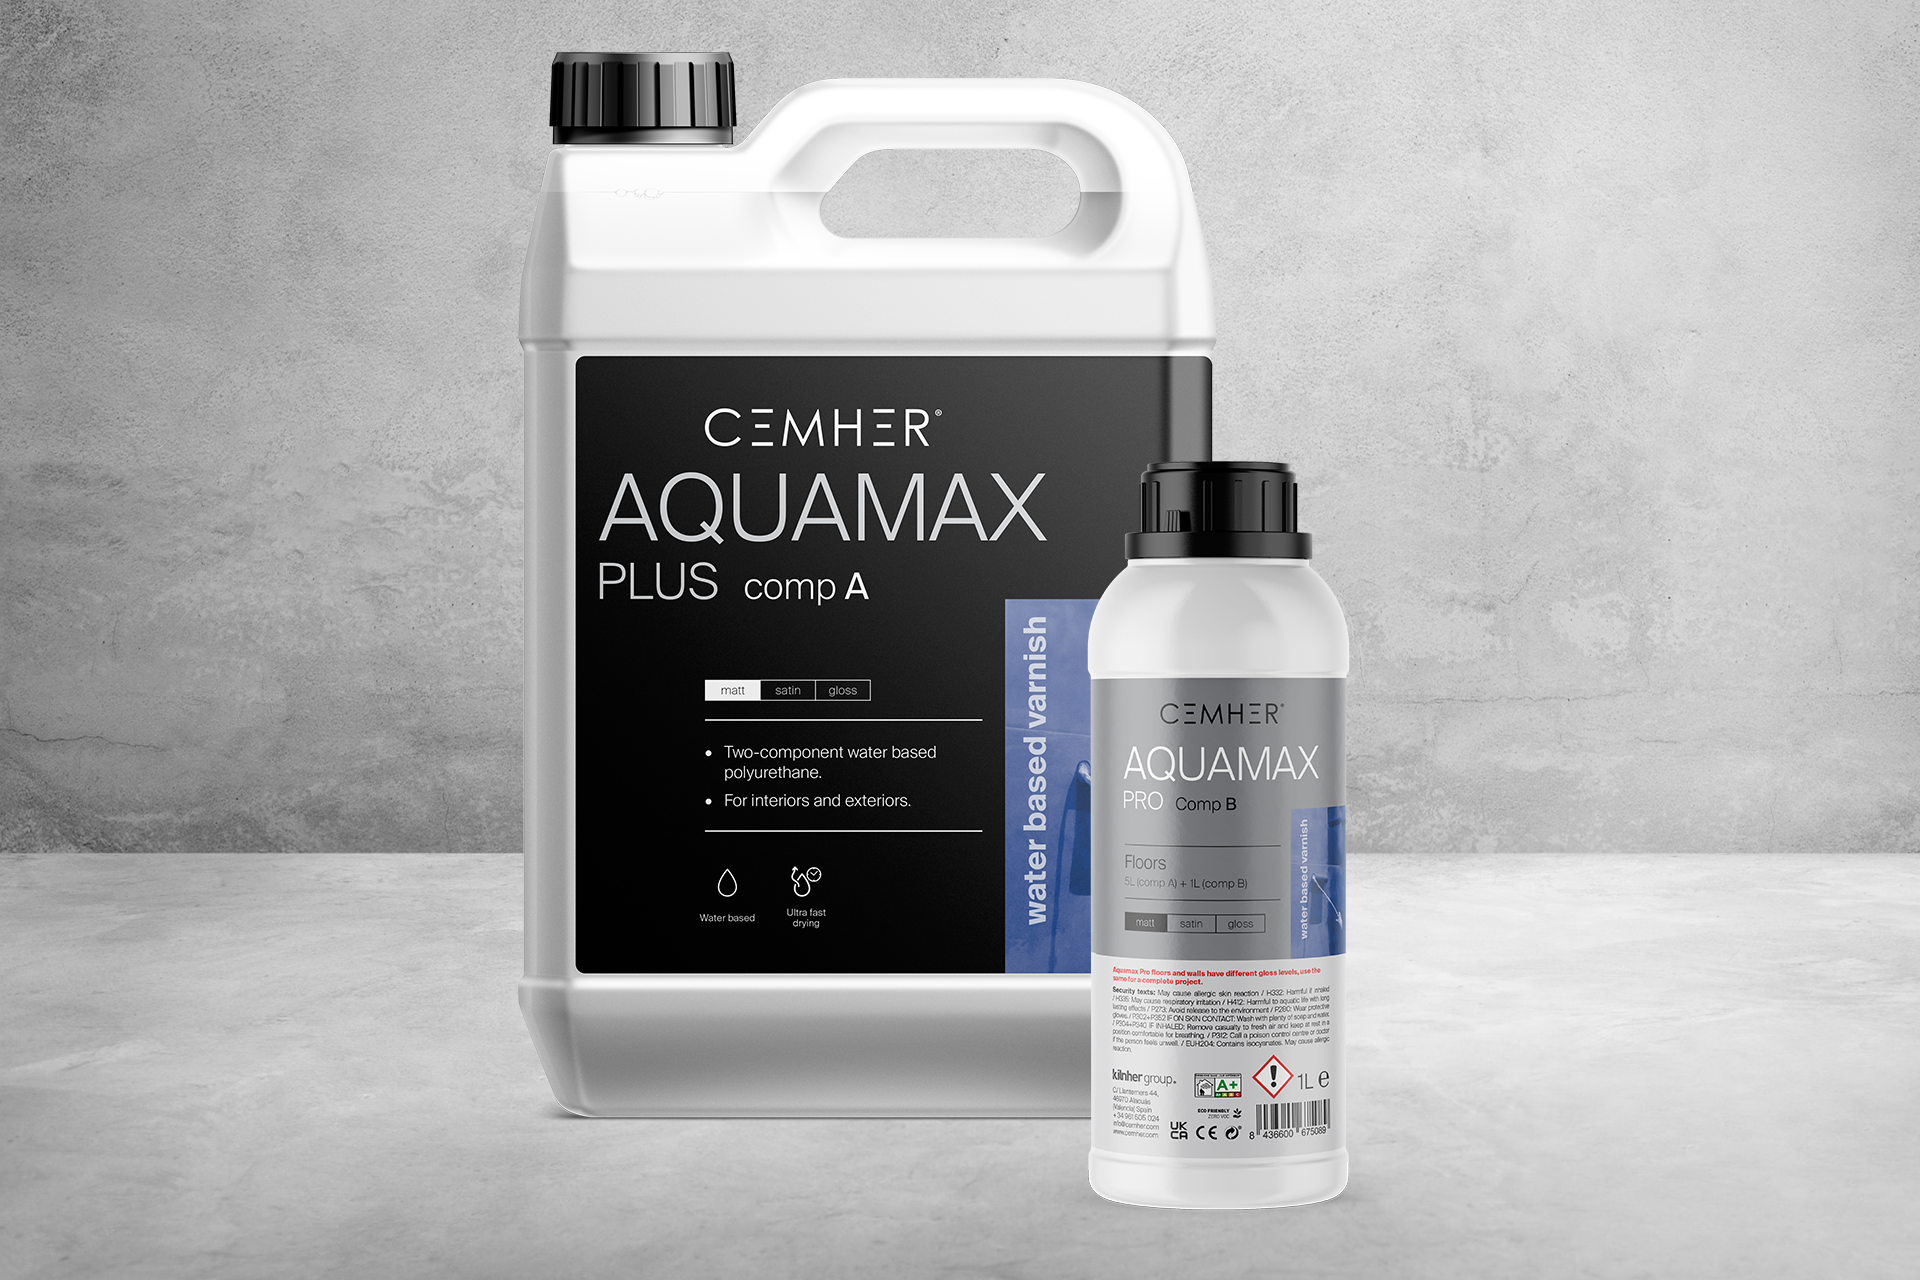
Cemher AquaMax Pro for Floors

Cemher MaxiPur

Cemher Polyshield
Using Aquamax Pro for Floors on Walls
You can use Aquamax Pro for Floors on Walls, in fact, we often include it in bathroom kits and worktop kits, because it is a stronger more durable product.
Mixing 1st Coat AquaMax Pro Floors
Mix the Aquamax Pro Comp A with the Aquamax Pro Floors Comp B in a mixing jug and stir gently with a paint stirrer for at least a minute. Do not whisk as it will put too much air in the mix. Leave to rest for a couple of minutes before applying.
For each coat, you will need 500ml AquaMax Pro Comp A + 100ml AquaMax Pro Floors Comp B per 10m2.
The mixing ratio is 1l x AquaMax Pro Comp A : 200ml x AquaMax Pro Floors Comp B.
Only mix enough for 1 coat at a time, as the mixture will only last for 45 minutes once combined.
Applying the 1st Coat AquaMax Pro Floors
Use a medium pile roller to apply the Aquamax Pro evenly across the entire area.
Starting in one corner, apply the Aquamax Pro in an area and then go back over it very gently with the roller to remove any excess product, air bubbles and lines.
Work quickly & randomly keeping the edge wet.
Use a small roller to squash Aquamax into internal corners and open edges. Then gently roll the excess away. Take care to get good coverage on shower wastes and other open edges.
Ensure you cover the full area with AquaMax Pro and use the full amount provided (500ml+50ml per 10m2 for each coat).
Leave to Dry
Leave the 1st coat to dry for a minimum of 12 hours before applying the 2nd coat.
Applying the 2nd Coat AquaMax Pro Floors
After 12 hours, you can complete the 2nd coat of AquaMax Pro. Check the surface for bits of dust and debris that may have settled in it. You can use a 400 grit sanding disc or razor scraper to remove these before applying your final coat.
Mix and apply the 2nd coat in exactly the same way that you did the 1st one.
Again, you will need 500ml AquaMax Pro Comp A & 100ml AquaMax Pro Floors Comp B to complete 1 coat over 10m2.
Leave to Dry
Leave for at least 48 hours. Light use only for the first 14 days.
Silicone Open Edges
Once the 2nd coat is dry, take off the tape around shower wastes and open edges, and run a bead of silicone along the join to prevent any water getting behind the microcement.
IMPORTANT: Like all cementitious products, microcement takes 28 days to full harden. It’s at it’s softest for the first 14 days after laying. During this time it should only be subjected to light use and light foot traffic.
Any heavy work is not recommended, but if it does take place then we recommend that you cover the floor with a breathable material or only cover down whilst working & lift the protection off for the majority of the time. The surface needs to dry out and harden. If airflow is restricted, it will stain & not cure correctly.
Introduction to Maxipur
Maxipur is a very effective and quick drying sealer, but because it is a solvent based product, its important that our guidance is followed in full. The following points are essential for a safe, successful installation:
- Eye Protection, Filtering Masks, suitable for use with Solvents must be worn when working with MaxiPur & good ventilation maintained until cured. Failure to do so may result in sickness, see materials safety datasheets for more information.
- Only apply with rollers that are suitable for use with solvents & clean roller trays and cages. Failure to do so will result in discolouration on the surface.
Mixing MaxiPur
Mix the MaxiPur Comp A with the MaxiPur Comp B in a mixing jug and stir gently with a paint stirrer for at least a minute. Do not whisk as it will put too much air in the mix. Leave to rest for a couple of minutes before applying.
For each coat, you will need 500ml MaxiPur Comp A + 250ml MaxiPur Comp B per 10m2.
The mixing ratio is 2 x MaxiPur Comp A : 1 x MaxiPur Comp B.
Only mix enough for 1 coat at a time, as the mixture will only last for 45 minutes once combined.
IMPORTANT: Eye Protection, Gloves, Filtering Masks, suitable for use with Solvents must be worn when working with MaxiPur
Applying the 1st Coat MaxiPur
Use a medium pile roller that is suitable for solvents to apply the MaxiPur evenly across the entire area.
Starting in one corner, apply the MaxiPur in an area and then go back over it very gently with the roller to remove any excess product, air bubbles and lines.
Work quickly & randomly keeping the edge wet.
Ensure you cover the full area with MaxiPur and use the full amount provided.
Use a small roller to squash Aquamax into internal corners and open edges. Then gently roll the excess away. Take care to get good coverage on shower wastes and other open edges.
Swimming Pools & Outdoor Surfaces
Only apply 1 coat of MaxiPur on Swimming Pools and Outdoor Surfaces, this will allow the Microcement to remain semi-permeable and prevent moisture from building up on the underside.
Leave to Dry
Leave the 1st coat to dry for a minimum of 12 hours before applying the 2nd coat.
Applying the 2nd Coat MaxiPur
After 12 hours, you can complete the 2nd coat of MaxiPur. Check the surface for bits of dust and debris that may have settled in it. You can use a 400 grit sanding disc or razor scraper to remove these before applying your final coat.
Mix and apply the 2nd coat in exactly the same way that you did the 1st one.
Again, you will need 500ml MaxiPur Comp A & 250ml MaxiPur Comp B to complete 1 coat over 10m2.
Silicone Open Edges
Once the 2nd coat is dry, take off the tape around shower wastes and open edges, and run a bead of silicone along the join to prevent any water getting behind the microcement.
Leave to Dry
Leave for at least 48 hours. Light use only for the first 14 days.
IMPORTANT: Like all cementitious products, microcement takes 28 days to full harden. It’s at it’s softest for the first 14 days after laying. During this time it should only be subjected to light use and light foot traffic.
Any heavy work is not recommended, but if it does take place then we recommend that you cover the floor with a breathable material or only cover down whilst working & lift the protection off for the majority of the time. The surface needs to dry out and harden. If airflow is restricted, it will stain & not cure correctly.
Applying Polyshield
Follow the directions below to apply Polyshield. Polyshield is a 2-Part product. That puts a very strong, durable impenetrable coat onto microcement surfaces.
The installation guide includes a video demonstration of how to apply the sealer efficiently and effectively, plus detailed written instructions.
See Technical Info for the key technical facts.
Mixing the Polyshield
Combine Polyshield and Polyshield Comp B in a mixing jug and stir gently with a mechanical paint mixer on a low speed for 3 full minutes. Use a timer to ensure an accurate mixing time. Failure mix for 3 full minutes will result in reduced working time & incorrect consistency.
The mix will appear thick at first but will loosen as you mix.
You will need 2l Polyshield + 800ml Polyshield Comp B per 10m2.
The mixing ratio is 4 x Polyshield : 1.6 Polyshield Hardener.
To get the full benefit from the sealer, you must use the full consumption across the area.
Applying the Polyshield
Using a Squeegee Trowel on a Pole will help you to apply the Polyshield quickly and effectively.
Pour the Polyshield from the starting point across the width of the room. Using light pressure on the trowel, spread the Polyshield evenly across the floor, working from one side of the room to the other, taking care to get even, full coverage across the surface.
Aim for even coverage without ridges or thick spots.
IMPORTANT: Eye Protection, Gloves, Filtering Masks, suitable for use with Polyaspartic products must be worn when working with Polyshield.
Leave to Dry
Polyshield should be dry in around 12 hours but may vary depending on temperature and humidity. The finish is very glossy, so you’ll need to add a coat of AquaMax Pro for Floors over it to achieve the desired finish.
Mixing AquaMax Pro Floors
Mix the AquaMax Pro Comp A with the AquaMax Pro Floors Comp B in a mixing jug and stir gently with a paint stirrer for at least a minute. Do not whisk as it will put too much air in the mix. Leave to rest for a couple of minutes before applying.
For 1 coat, you will need 500ml AquaMax Pro Comp A + 100ml AquaMax Pro Floors Comp B per 10m2.
The mixing ratio is 5 x AquaMax Pro Comp A : 1 x AquaMax Pro Floors Comp B.
The mixture will only last for 45 minutes once combined.
Applying the AquaMax Pro Floors
Use a medium pile roller to apply the AquaMax Pro evenly across the entire area.
Starting in one corner, apply the AquaMax Pro in an area and then go back over it very gently with the roller to remove any excess product, air bubbles and lines.
Work quickly & randomly keeping the edge wet.
Silicone Open Edges
Once the sealer is dry, take off the tape around shower wastes and open edges, and run a bead of silicone along the join to prevent any water getting behind the microcement.
IMPORTANT: Like all cementitious products, microcement takes 28 days to full harden. It’s at it’s softest for the first 14 days after laying. During this time it should only be subjected to light use and light foot traffic.
Ensure you cover the full area with AquaMax Pro and use the full amount provided (500ml+100ml per 10m2 for each coat).
Leave to Dry
Leave for at least 48 hours. Light use only for the first 14 days.
Any heavy work is not recommended, but if it does take place then we recommend that you cover the floor with a breathable material or only cover down whilst working & lift the protection off for the majority of the time. The surface needs to dry out and harden. If airflow is restricted, it will stain & not cure correctly.
Cemher AquaMax Pro for Floors
Application on Microne, Microdur Plus & Hydroprimer Application on Polyshield & Micropool Process Application on Microne, Microdur Plus & Hydroprimer: 2 x Coats AquaMax Pro for Floors Application on Polyshield & Micropool: 1 x Coat of AquaMax Pro for Floors Mix Ratio Application on Microne, Microdur Plus & Hydroprimer: 5 AquaMax Pro Comp A : 1 AquaMax Pro Comp B
1l AquaMax Pro Comp A : 200ml AquaMax Pro Comp BApplication on Polyshield & Micropool: 5 AquaMax Pro Comp A : 1 AquaMax Pro Comp B
1l AquaMax Pro Comp A : 200ml AquaMax Pro Comp BStandard Consumption Application on Microne, Microdur Plus & Hydroprimer: 1l per 10m2 Application on Polyshield & Micropool: 500ml per 10m2 Estimated Drying Time Application on Microne, Microdur Plus & Hydroprimer: Minimum 12 hours between coats
48 hours before light foot trafficApplication on Polyshield & Micropool: Minimum 12 hours between coats
48 hours before light foot trafficTools Required Application on Microne, Microdur Plus & Hydroprimer: Medium Microfibre Roller
Roller TrayApplication on Polyshield & Micropool: Medium Microfibre Roller
Roller TraySafety & PPE Application on Microne, Microdur Plus & Hydroprimer: Nitrile gloves
Eye protection
Ensure adequate ventilation throughoutApplication on Polyshield & Micropool: Nitrile gloves
Eye protection
Ensure adequate ventilation throughoutCemher MaxiPur
Internal Surfaces Swimming Pools & External Surfaces Process Internal Surfaces: 2 x Coats of MaxiPur Swimming Pools & External Surfaces: 1 x Coat of MaxiPur Mix Ratio Internal Surfaces: 2 MaxiPur Comp A : 1 MaxiPur Comp B
1l MaxiPur Comp A : 500ml MaxiPur Comp BSwimming Pools & External Surfaces: 1 MaxiPur Comp A : 2 MaxiPur Comp B
1l MaxiPur Comp A : 1l MaxiPur Comp BStandard Consumption Internal Surfaces: 1l per 8 - 10m2 Swimming Pools & External Surfaces: 1l per 8 - 10m2 Estimated Drying Time Internal Surfaces: Minimum 4 hours between coats
48 hours before light foot trafficSwimming Pools & External Surfaces: 48 hours before light foot traffic Tools Required Internal Surfaces: Roller Suitable for Use with Solvents
Roller TraySwimming Pools & External Surfaces: Roller Suitable for Use with Solvents
Roller TraySafety & PPE Internal Surfaces: Rubber gloves
Protective goggles
Filtered mask suitable for organic solvents
Ensure adequate ventilation - essential
Flammable above 370°CSwimming Pools & External Surfaces: Rubber gloves
Protective goggles
Filtered mask suitable for organic solvents
Ensure adequate ventilation - essential
Flammable above 370°CCemher Polyshield
Internal Floors & Worktops Process Internal Floors & Worktops: 1 x Coat of Polyshield Mix Ratio Internal Floors & Worktops: 1l Polyshield : 400ml Polyshield Comp B
4l Polyshield : 1.6l Polyshield Comp BStandard Consumption Internal Floors & Worktops: 1l Polyshield + 400ml Polyshield Comp B per 4m2 Estimated Drying Time Internal Floors & Worktops: Minimum 12 hours between coats
48 hours before light foot trafficTools Required Internal Floors & Worktops: Mechanical Mixer
Clean Mixing Bucket
Squeegee TrowelSafety & PPE Internal Floors & Worktops: Chemical-resistant gloves — essential, dispose of after use
Safety goggles
Respirator suitable for organic solvents — essential
Ensure excellent ventilation — vapours are heavier than air
Keep away from all ignition sources
Avoid skin contact — may cause skin sensitisationCemher AquaMax Pro for Floors
Cemher MaxiPur
-
After Care
Special Care for the First 28 Days
Microcement & Microcement Sealers harden over time. They’re most delicate for the 1st few days and weeks. They slowly strengthen as time goes on, until they reach close to full strength at around 28 days.
The stated curing times may vary depending on conditions. These table below shows how to care for new microcement surfaces over the first 28 days, with approximate timings:
0-12 Hours After Final Seal
- The final coat of sealer is still tacky
- Do not touch under any circumstances
- Close doors to avoid dust or fluff settling into the wet sealer
3 – 14 Days After Final Seal, Advice for Home Owners
- You can gently start to use the microcement surfaces
- Walk on floors in socks or barefoot
- You can use showers & sinks
- Don’t leave anything resting on the surfaces
- No heavy or wet items left on surfaces
- No shampoo bottles left in wet areas
- Avoid spills
- Clean up spills quickly to avoid stains
3 – 14 Days After Final Seal, Advice for Microcement Installers
- You can carefully start to install fittings
- Protect surfaces whilst working, but do not restrict airflow
- Use breathable surface protectors when working
- No covering down materials left on surface overnight
- Don’t leave anything resting on the surfaces
- Don’t leave anything resting on the surfaces
- No heavy or wet items left on surfaces
- Avoid spills
- Clean up spills quickly to avoid stains
14 – 28 Days After Final Seal
- You can now use the microcement surfaces more normally
- You can move furniture into the space
- Always lift and place heavy items rather than dragging them across the surface
General Care for Microcement Surfaces
Now that you’re over the first month, you can relax and enjoy your new microcement surface. Microcement is strong, durable and waterproof, so you can treat it like you would treat any other surface finish.
Here our guidelines for keeping your microcement surface in excellent condition for years to come:
Cleaning
- Regular cleaning with pH neutral cleaning products
- Steam cleaners can be used on all floors excluding Microdur surfaces
- Bleach & mould cleaner can be used for occasional deep cleans but always neutralise once cleaning is complete
- Do not regularly clean microcement surfaces with aggressive or descaling products
Maintenance
- Use Cemher Floor Protect every 2 -3 months to protect you microcement and to help build up the sealers
- Reseal surfaces only if they begin to look tired, or if water leaves a mark on the surface
Heavy Items
- No dragging heavy objects across the surface
- No dropping heavy objects onto the surface
- Lift furniture rather than dragging it
- Use lids or felt pads to protect flooring from pressure points or abrasive surfaces
Avoid Stains
- Do not leave spills on the surface for prolonged time periods
- Do not leave products containing dyes, turmeric or rubber on the surface for more than 15 minutes
- Acidic & alkaline products can start to wear down the sealers if left for prolonged time periods
- If water stains appear at any time, let the stain dry out & reseal immediately
- Stains may become permanent if not treated quickly
Avoid Prolonged Water Exposure
- Do not leave wet items including; towels, plant pots, wet shampoo bottles etc. in direct, prolonged contact with microcement surfaces
Fail to Prepare, Prepare to Fail
Surface prep is the most important part of any job. And because microcement is only 3-4mm finished, it’s more important than ever. But don’t worry, we’ve got you covered. Check out our Surface Prep for detailed guidance on preparing a wide range of surfaces for the microcement application.
Surface Prep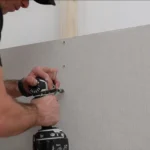
Need Help with your Kit?
Installation issues can happen, but we’re here to help. Our comprehensive troubleshooting guides cover common challenges and proven solutions for microcement application.
View Troubleshooting Guides