
Polished Liquid Metal Kit
You can view the installation guide for each of the products that you have by clicking on the images below. The products that you have will depend on the selection you made when you ordered the kit. The process varies between products, so make sure you check what you have before you start (see checklist).
-
Introduction
Introduction
This guide contains everything you need to know about the application of the microcement products in your kit. The short video will help you to understand how Io navigate the training, as will the written introduction.
Introduction to Your Training
-
Step 1
Primers + Mesh
Which Products?
The following products are needed for this step. You might find it helpful to gather them together so you can see what you’re working with.
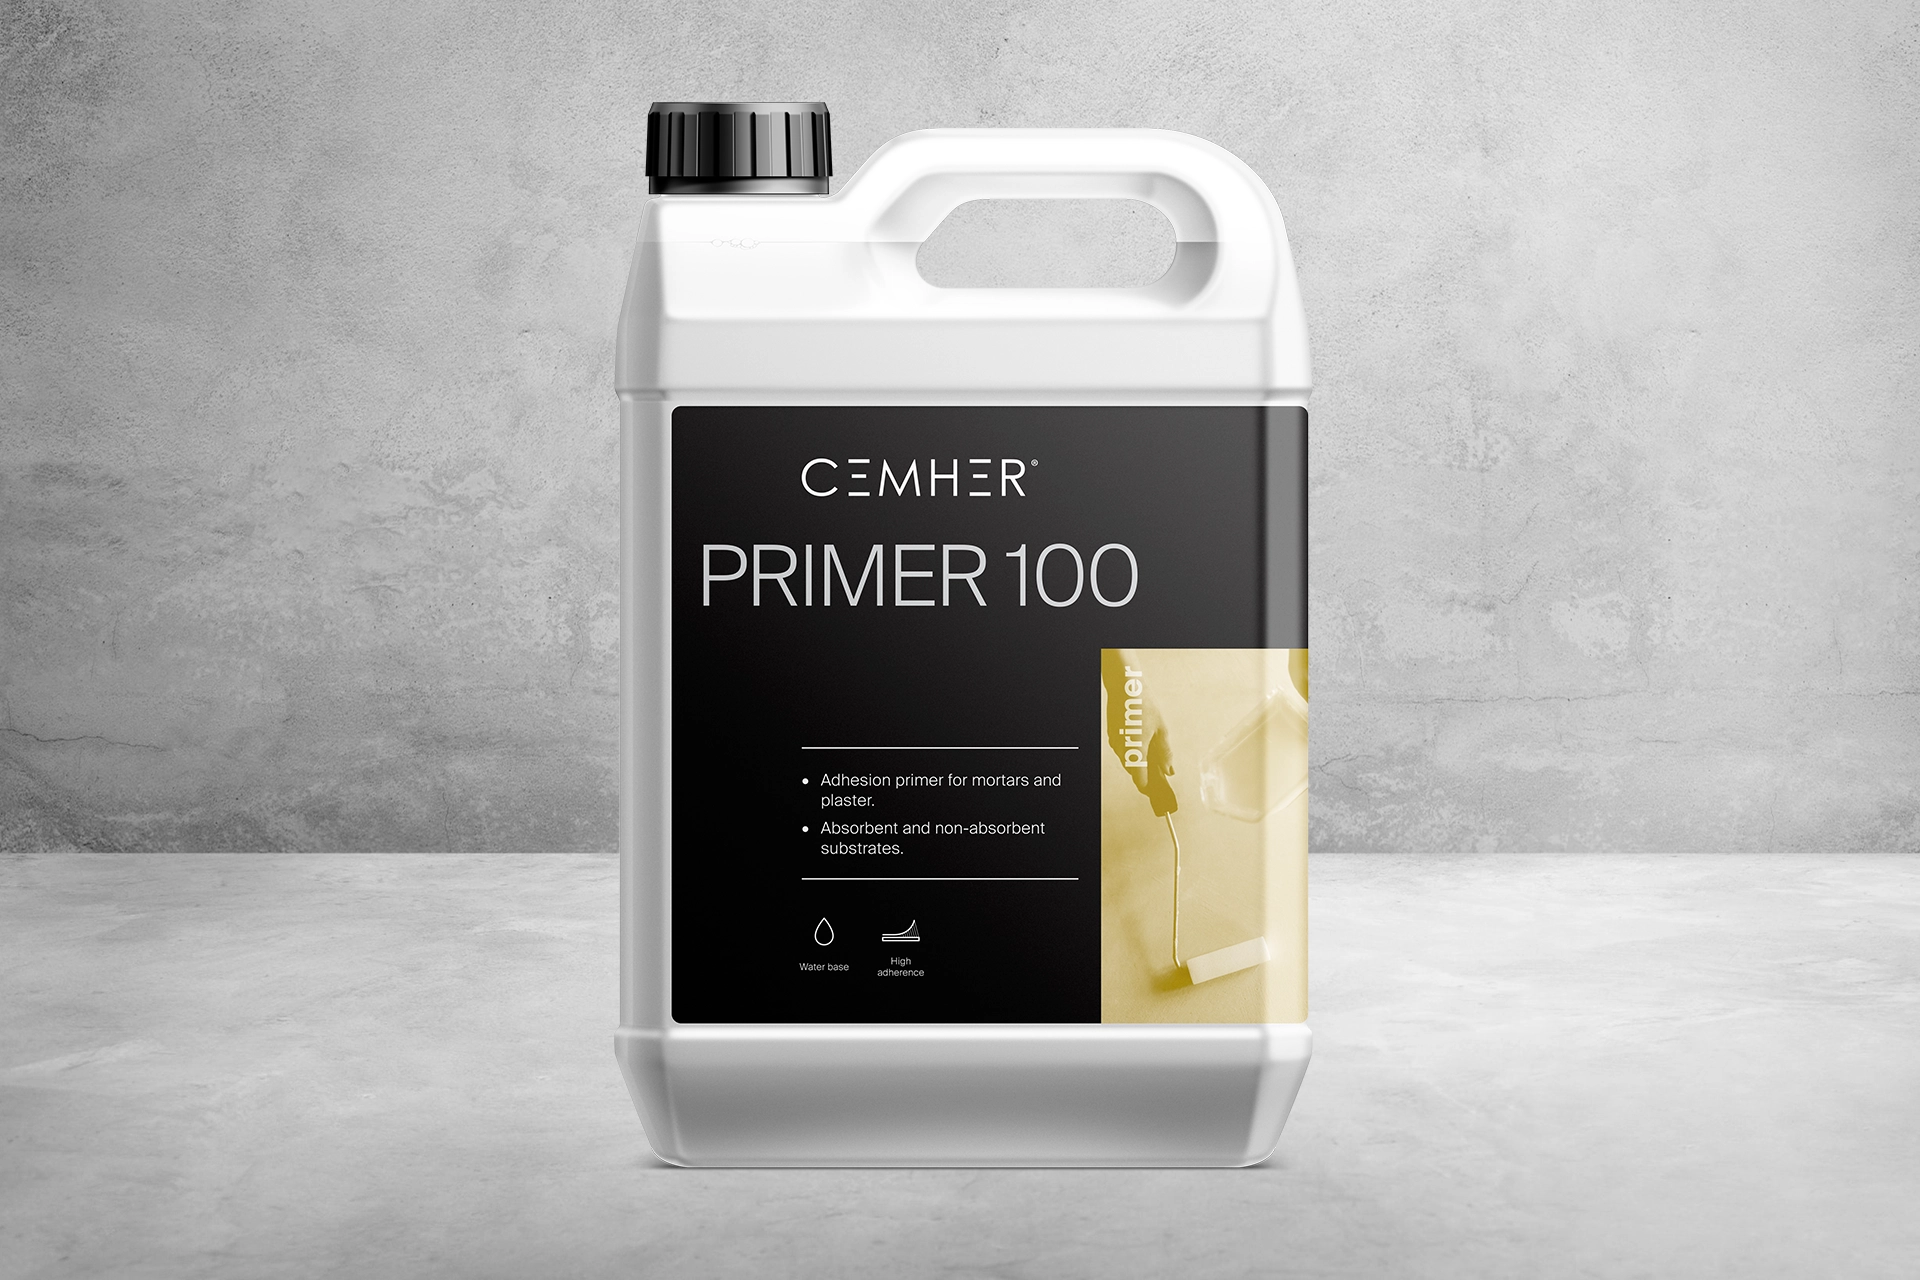
Cemher Primer 100

Fibreglass Mesh for Floors
Fibreglass Mesh for Walls & Surfaces
Surface Prep
Before you prime and mesh it’s essential that your surface is completely flat, dry and well-consolidated, so that there is no chance of movement. Use a small amount of Joint Filler or a filler that is suitable for the substrate, to flush out joins and counter-sunk screwholes. Then sand until the surface is completely flat. See surface prep for full details of preparing surfaces for microcement.
Applying Primer 100 & Fibreglass Mesh
Fibreglass mesh adds strength to your microcement and adds strength to the substrate. Cut the mesh to size & then flip it over so that it curls towards the surface. You might find it easier to use Self Adhesive Fibreglass Mesh on corners.
Use a medium pile roller to apply an even coat of primer to the surface and mesh.
The primer should help to hold the mesh in place, but thats not it’s primary purpose, it’s more important to get full, even coverage over the area. If the mesh isn’t sticking, then use stainless steel staples to hold it in place instead.
Primer 100 is a thick, high-quality product. To get the full consumption out of the bottle, you may need a little water. Add up to 10% water & shake to get all of the primer out of the container.
Highly Absorbent Surfaces, Like Fresh Plaster & Concrete
On highly absorbent surfaces, like freshly laid concrete or fresh plaster, use Primer 100 mixed with water at a ratio of 50:50 before applying a neat coat. Similar to a mist coat of paint, this will prevent the primer from sitting on the surface and create a strong bond between surface and microcement. The primer needs to sink into the substrate to take hold, which is where the water comes in.
After around 1 hour it should be dry enough to take a neat coat of Primer 100. If the substrate is very absorbent, you might need extra primer to complete this stage.
Leave to Dry
Leave the primer to dry. This should take around 1 hour. Primer 100 will lose it’s tack after 12 hours, so you will need to make sure you apply the 1st base coat within 12 hours or apply another coat of Primer 100 when you are ready to start the base coats.
When to Choose High Performance Primer
We highly recommend that you choose this option if you are working on load-bearing horizontal surfaces that have joins e.g. OSB/Ply/MDF/Cement Board flooring, or across transitions between shower trays and surrounding floors. It also helps to strengthen concrete surfaces that have cracked, however the cracks should be repaired in advance. It’s also useful for bridging joins between boards in furniture and worktops.
This primer also helps to inhibit moisture and stains from transferring through from your substrate.
If you think you need High Performance Primer but haven’t got it in your kit, the products are also available to buy separately.
Cemher Primer 100
Highly Absorbent Surfaces All Other Surfaces Process Highly Absorbent Surfaces: 1 x Diluted Coat
1 x Neat CoatAll Other Surfaces: 1 x Neat Coat Mix Ratio Highly Absorbent Surfaces: Diluted Coat:
50% Water / 50% Primer 100
Neat Coat:
Maximum 10% WaterAll Other Surfaces: Maximum 10% Water Standard Consumption Highly Absorbent Surfaces: 1l per 4 - 6m2 All Other Surfaces: 1l per 8 - 10m2 Estimated Drying Time Highly Absorbent Surfaces: Diluted Coat:
30 minutes
No Maximum
Neat Coat:
Minimum 30 minutes
Maximum 12 hoursAll Other Surfaces: Minimum 30 minutes
Maximum 12 hoursTools Required Highly Absorbent Surfaces: Medium Microfibre Roller
Roller Tray
PPEAll Other Surfaces: Medium Microfibre Roller
Roller Tray
PPECemher Primer 100
-
Step 2
Base Coats
Which Products?
The following products are needed for this step. You might find it helpful to gather them together so you can see what you’re working with.
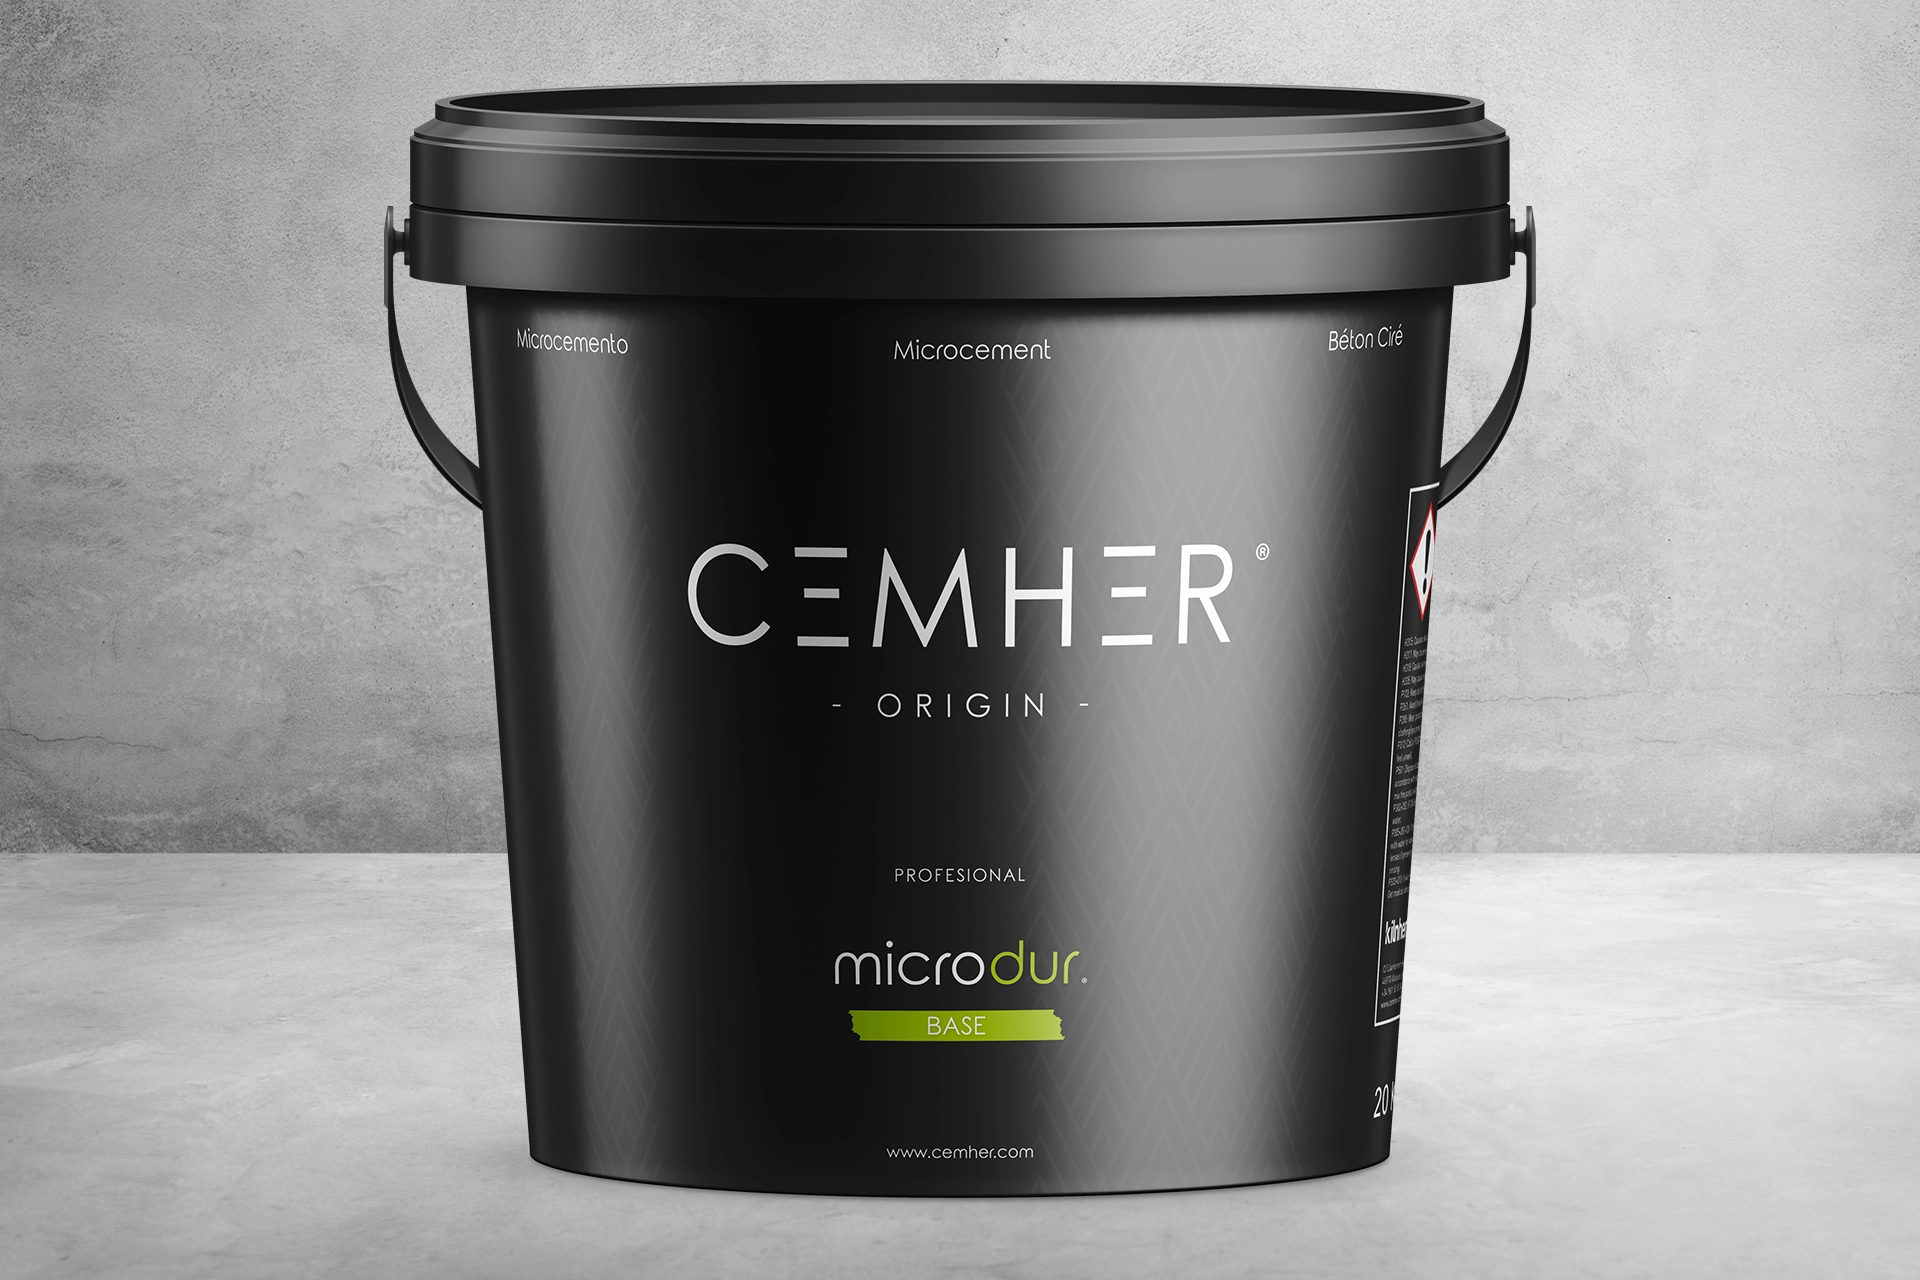
Cemher Microdur Base
Mixing 1st Coat of MicroDur Base without Colour
You will need 10kg of MicroDur Base to complete 1 coat over 10m2. Split your MicroDur Base into equal batches of 10kg. Mix no more than 20kg at a time.
For each batch, measure 2.5l – 3.0l Water using a measuring jug. Pour the water into your mixing bucket, followed by 10kg MicroDur Base.
Mix thoroughly with a microcement mixer head attachment on a cordless drill. Let the mixture rest for a few minutes before applying.
In order to set a neutral foundation, it’s best to apply the 1st base coat without any colour toner. If you ordered a kit, you will be supplied enough colour toner for the 2nd base coat only.
Let the mixture rest for a few minutes before applying.
Mixing Smaller Batches
You will need 1kg MicroDur Base per m2 per coat & 500g Top Coat per m2 per coat. So for 2 x base coats & 2 x top coats, you’ll need 2kg Base Coat & 1kg Top Coat.
The best way to split the colour for MicroDur Base, Medium or Fine is to measure out the full amount of water for 10kg microcement & then add the colour for 10kg Microcement to it. Make sure you get all the colour out of the bottle and stir it in well.
Then you can take the amount of water that you need for each kg & be confident that the colour will be consistent across all the batches.
Applying 1st Coat MicroDur Base
Using a Microcement Trowel, work your way out from one corner creating a random edge pattern. Keep trowel movements small and random, avoid long sweeping arches – as these will show through to your final finish.
Use the grain in the microcement as your level – if you apply the microcement thicker than the size of the grain, the finish won’t be as strong and will require a lot more sanding. Run the trowel back over each section that you have put down to smooth it out and remove excess product.
Completely cover each surface without stopping. For complete rooms, start with ceilings, then walls from left to right (or right to left) and then the floor.
Run your finger or a corner trowel along internal corners to push the microcement into the corner and then gently trowel away the excess product.
Large Floor Areas
For large floor areas, you may find it quicker to use a Squeegee Trowel to apply your 1st base coat.
If you choose to do this, use 3l water per 10kg MicroDur Base.
Pour the Microcement along the width of the room and use the Squeegee to flatten it out over the floor so that it is no thicker than the grain in all areas.
Complete around a metre before wiping the excess off the trowel and going back over the area to remove any raised lines & remove any excess product, before moving onto the next section.
Sanding the 1st Base Coat
If your trowel technique is correct, the surface should be flat & even after the 1st base coat, so you shouldn’t need to sand it.
However, if there are ridges in the surface, or the coverage across the area isn’t even, then we do recommend that you sand the 1st base coat before moving on.
Wait until the surface is dry, this should take around 3 hours, but will depend on the conditions.
Use a 40-grit sanding disc to sand evenly across the area, removing any ridges, high spots & imperfections.
Ensure the surface is free from dust before applying the 2nd base coat directly onto the surface (no additional primer is needed).
Mixing 2nd Coat MicroDur Base
You will need 10kg Microdur Base per 10m2.
For each batch, measure 2.5l – 3.0l Water using a measuring jug. Pour the water into your mixing bucket, and mix in the Colour for 10kg MicroDur Base. Use the water to rinse out all of the colour from the bottle – to avoid colour variation between batches. Add 10kg MicroDur Base and mix thoroughly.
Let the mixture rest for a few minutes before applying.
Applying 2nd Coat MicroDur Base
Apply the 2nd Coat of MicroDur Base in exactly the same way as the 1st coat.
Using a Microcement Trowel, work your way out from one corner creating a random edge pattern. Keep trowel movements small and random, avoid long sweeping arches – as these will show through to your final finish.
Use the grain in the microcement as your level – if you apply the microcement thicker than the size of the grain, the finish won’t be as strong and will require a lot more sanding. Run the trowel back over each section that you have put down to smooth it out and remove excess product.
Completely cover each surface without stopping. For complete rooms, start with ceilings, then walls from left to right (or right to left) and then the floor.
Run your finger or a corner trowel along internal corners to push the microcement into the corner and then gently trowel away the excess product.
Leave to Dry
This should take around 3 hours if you are applying another coat of MicroDur on top. If your next coat is Microne, leave for 24 hours until completely dry.
Drying times may vary depending on temperature and humidity.
Sand with 40/80 Grit Sand Paper
Once the base coats are dry and before you apply your Top Coats, you need to make sure the Base Coats are completely flat. Use a strong sand paper, like Silicone Carbide, to prevent colour from the sand paper transfering to your work.
Flatten the MicroDur Base with a 40 or 80 grit sand paper. An orbital sander is ideal, but, for smaller areas, you can do it by hand. And for larger areas you may prefer to use a floor sander.
Use the sand paper to remove ridges and drips that have dried in the microcement.
The top coats are very thin so any ridges or imperfections in the base coats will be visible in the top coats. Take your time to get it completely flat before moving on to the next step.
Vacuum the surface to remove all dust and debris. Do not wet the microcement.
Microcement Sanding Discs are available from Relentless Microcement.
Cemher Microdur Base
Process 1 x Microdur Base (No Colour)
1 x Microdur Base (With Colour)Mix Ratio 10kg Microdur Base : 2.5-3.0l Water Standard Consumption 20kg per 10m2 (2 Coats) Estimated Drying Time Between Coats:
Minimum 3 hours
No Maximum
Before Sealers:
Minimum 24 hours
No MaximumTools Required Microcement Trowel
Hawk & Bucket Trowel
Microcement Mixer
Clean Mixing Bucket
Weighing Scales
Measuring Jug
PPECemher Microdur Base
-
Step 3
Top Coats
Which Products?
The following products are needed for this step. You might find it helpful to gather them together so you can see what you’re working with.

Metal Resin Only

Copper Micrometal Only
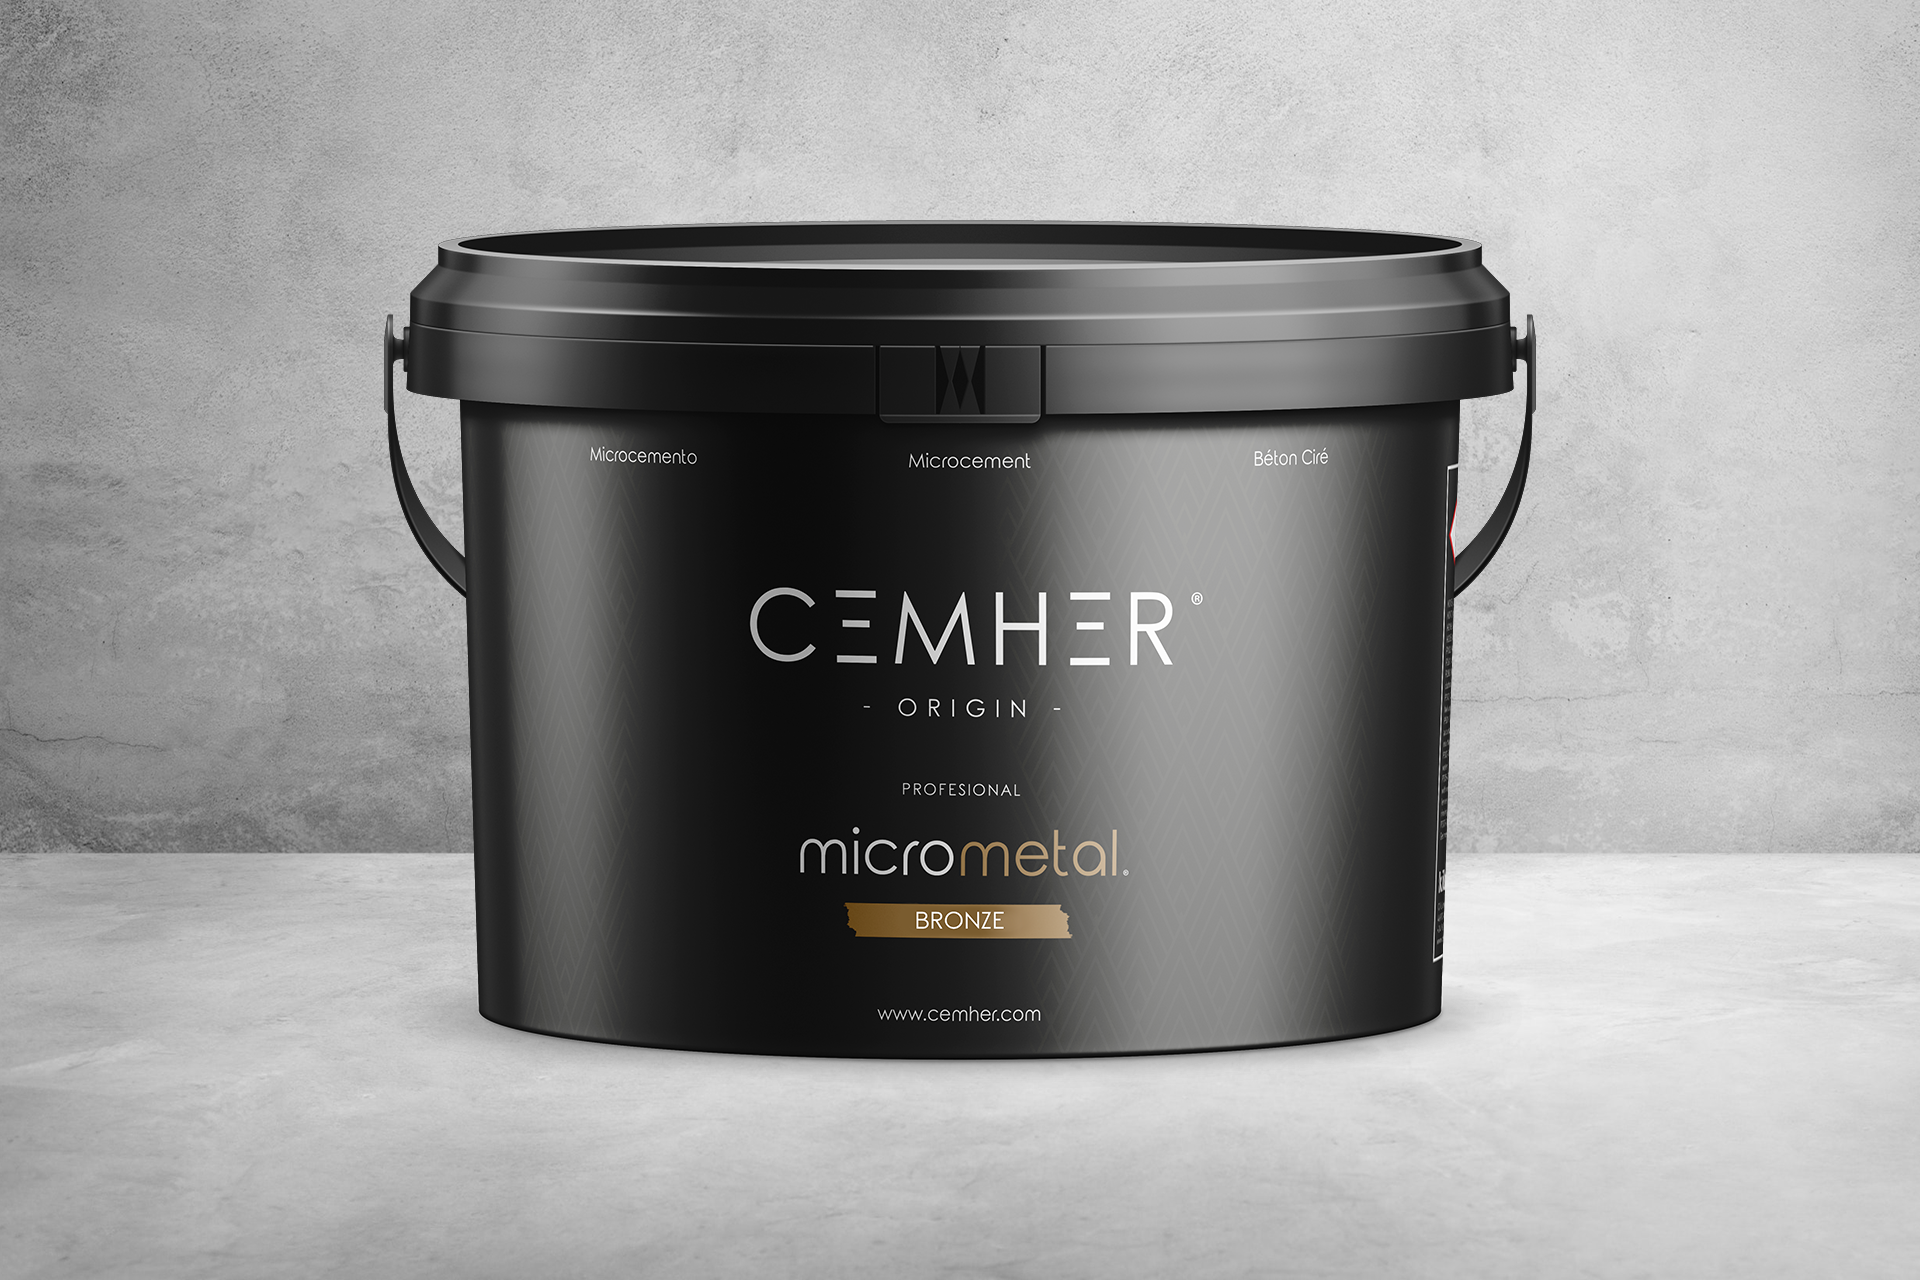
Bronze Micrometal Only
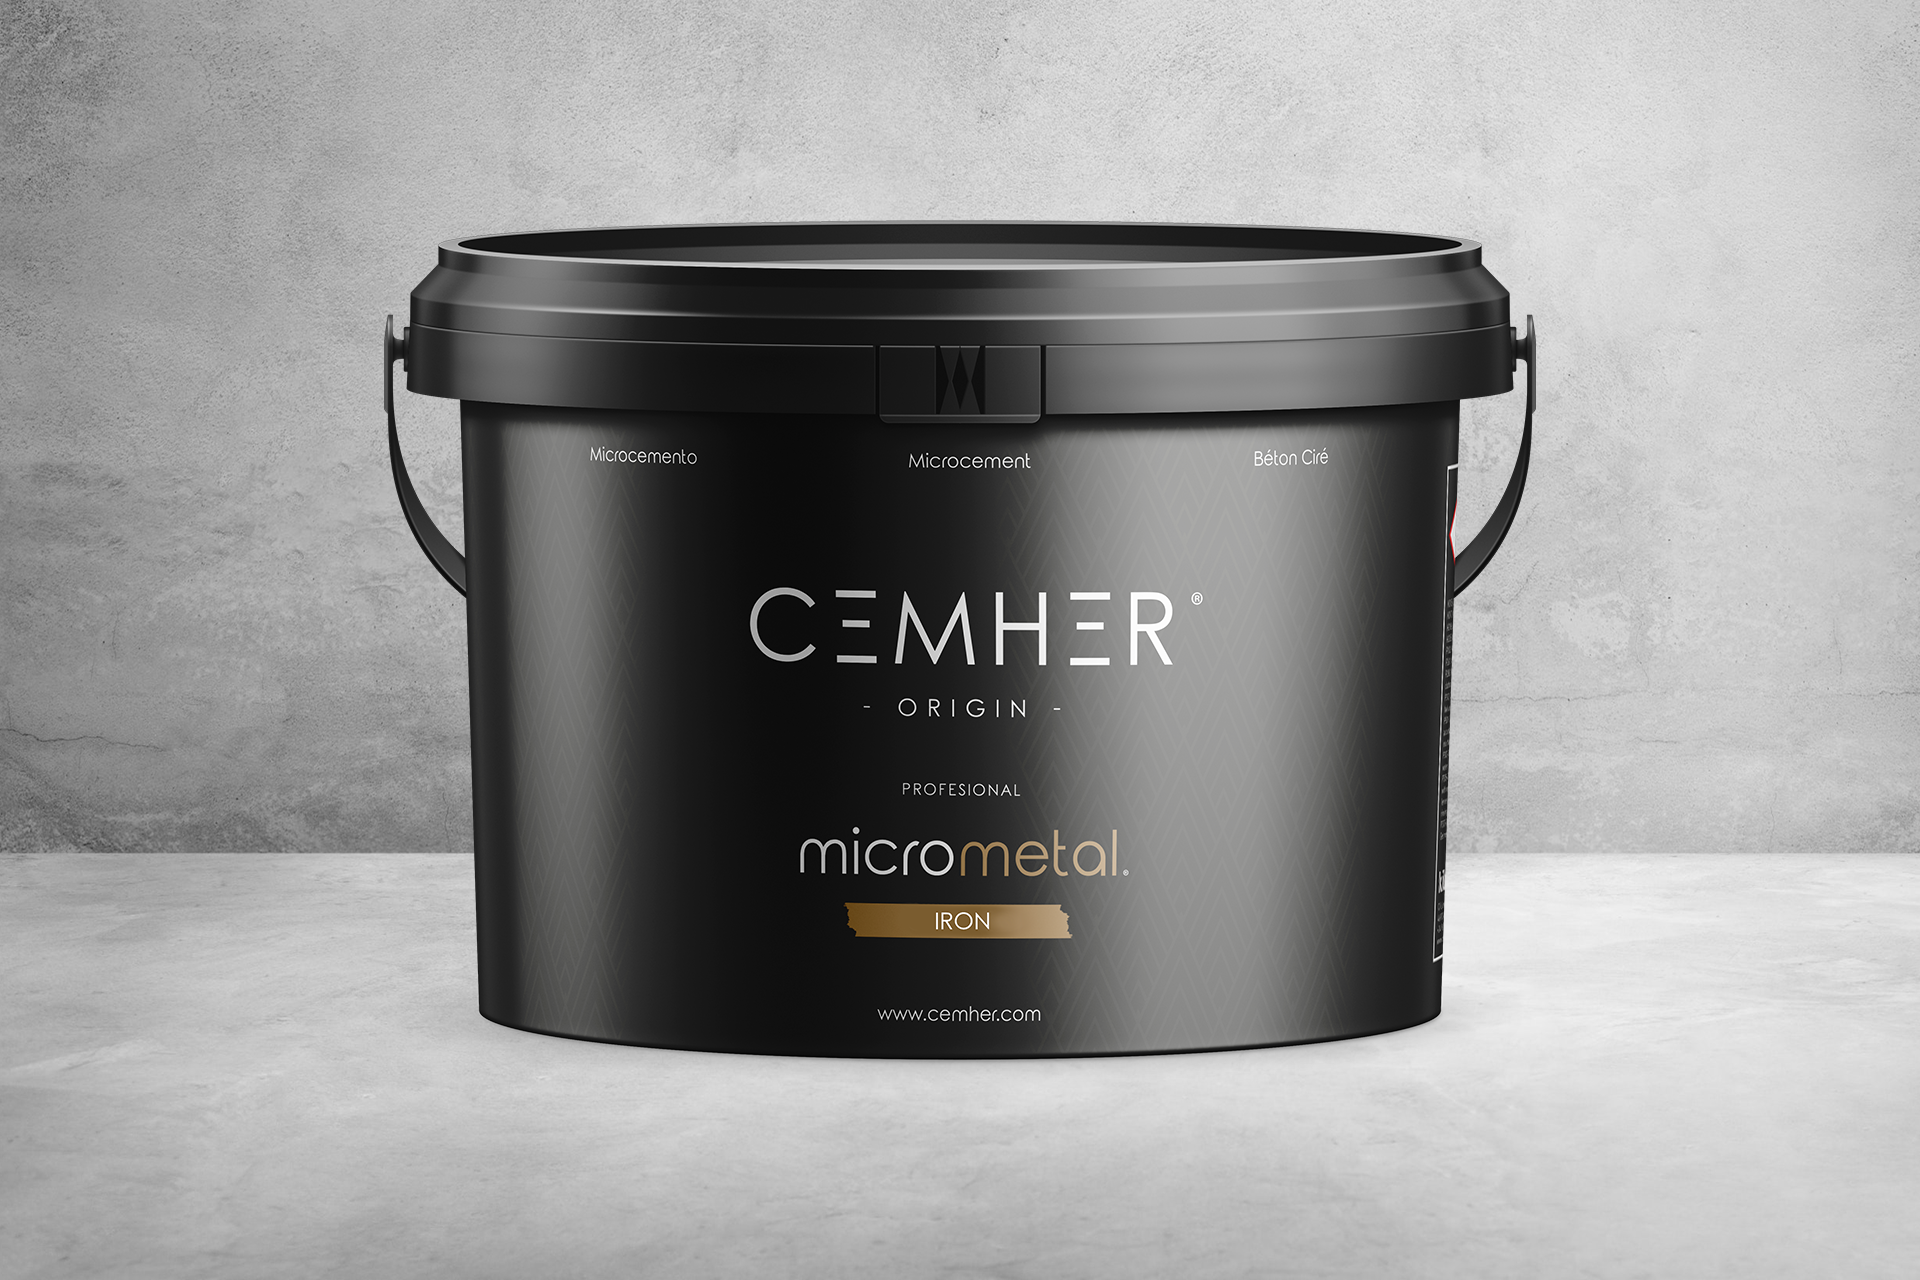
Iron Micrometal Only

Aquatix Only
Mixing the MicroMetal
You will need 5kg of MicroMetal to complete 1 coat over 10m2.
Add the MicroMetal to a mixing bucket and add a small amount of Metal Resin, mix thoroughly, then continue to add small amounts of Metal Resin until it reaches a workable consistency. The amount of Metal Resin required does vary depending on the metal.
These are the approximate mix ratios for each metal:
5kg Iron Powder : 1.25l Metal Resin
5kg Copper Powder : 400ml Metal Resin
5kg Bronze Powder : 400ml Metal Resin
Let the mixture rest for a few minutes before applying. Keep a lid on it between coats. Working time is 1 – 3 hours.
Applying the MicroMetal
Using a Microcement Trowel, work your way out from one corner creating a random edge pattern. Keep trowel movements small and random, avoid long sweeping arches – as these will show through to your final finish.
Use the grain in the liquid metal as your level – if you apply it thicker than the size of the grain, the finish won’t be as strong and will require a lot more sanding. Run the trowel back over each section that you have put down to smooth it out and remove excess product.
Run your finger or a corner trowel along internal corners to push the microcement into the corner and then gently trowel away the excess product.
Polishing the Metal
Work over the whole area with a 400 grit sanding disc on an orbital sander, sand all areas evenly so that you achieve a uniform depth across the area.
The 400 grit will expose the metal, where as subsequent grits will polish the exposed metals. Before moving to the next grit ensure you are happy with the level of cut in your work.
Continue to work up the grits, increasing the speed as you go. The following table shows the relative speed for each of the grits.
400 low speed
500/800/1000 medium speed
3000 high speedMetal Resin Only
Oxidising the Metal Polishing the Metal Process Oxidising the Metal: Apply 1 coat of liquid metal & oxidise Polishing the Metal: Apply 2 coat of liquid metal & polish Mix Ratio Oxidising the Metal: 1kg Metal Powder : 25ml Metal Resin Polishing the Metal: 1kg Metal Powder : 25ml Metal Resin Standard Consumption Oxidising the Metal: 5kg per 10m2 Polishing the Metal: 10kg per 10m2 Estimated Drying Time Oxidising the Metal: Before Accelerator:
Minimum 30 minutes
No Maximum
Before Sealers:
Minimum 24 hours
No MaximumPolishing the Metal: Between Coats:
Minimum 30 minutes
No Maximum
Before Polishing:
Minimum 24 hours
No MaximumTools Required Oxidising the Metal: Microcement Trowel
Microcement Mixer
PPEPolishing the Metal: Microcement Trowel
Microcement Mixer
PPECopper Micrometal Only
Oxidising the Metal Polishing the Metal Process Oxidising the Metal: Apply 1 coat of liquid metal & oxidise Polishing the Metal: Apply 2 coat of liquid metal & polish Mix Ratio Oxidising the Metal: 1kg Metal Powder : 25ml Metal Resin Polishing the Metal: 1kg Metal Powder : 25ml Metal Resin Standard Consumption Oxidising the Metal: 5kg per 10m2 Polishing the Metal: 10kg per 10m2 Estimated Drying Time Oxidising the Metal: Before Accelerator:
Minimum 30 minutes
No Maximum
Before Sealers:
Minimum 24 hours
No MaximumPolishing the Metal: Between Coats:
Minimum 30 minutes
No Maximum
Before Polishing:
Minimum 24 hours
No MaximumTools Required Oxidising the Metal: Microcement Trowel
Microcement Mixer
PPEPolishing the Metal: Microcement Trowel
Microcement Mixer
PPEBronze Micrometal Only
Oxidising the Metal Polishing the Metal Process Oxidising the Metal: Apply 1 coat of liquid metal & oxidise Polishing the Metal: Apply 2 coat of liquid metal & polish Mix Ratio Oxidising the Metal: 1kg Metal Powder : 25ml Metal Resin Polishing the Metal: 1kg Metal Powder : 25ml Metal Resin Standard Consumption Oxidising the Metal: 5kg per 10m2 Polishing the Metal: 10kg per 10m2 Estimated Drying Time Oxidising the Metal: Before Accelerator:
Minimum 30 minutes
No Maximum
Before Sealers:
Minimum 24 hours
No MaximumPolishing the Metal: Between Coats:
Minimum 30 minutes
No Maximum
Before Polishing:
Minimum 24 hours
No MaximumTools Required Oxidising the Metal: Microcement Trowel
Microcement Mixer
PPEPolishing the Metal: Microcement Trowel
Microcement Mixer
PPEIron Micrometal Only
Oxidising the Metal Polishing the Metal Process Oxidising the Metal: Apply 1 coat of liquid metal & oxidise Polishing the Metal: Apply 2 coat of liquid metal & polish Mix Ratio Oxidising the Metal: 1kg Metal Powder : 25ml Metal Resin Polishing the Metal: 1kg Metal Powder : 25ml Metal Resin Standard Consumption Oxidising the Metal: 5kg per 10m2 Polishing the Metal: 10kg per 10m2 Estimated Drying Time Oxidising the Metal: Before Accelerator:
Minimum 30 minutes
No Maximum
Before Sealers:
Minimum 24 hours
No MaximumPolishing the Metal: Between Coats:
Minimum 30 minutes
No Maximum
Before Polishing:
Minimum 24 hours
No MaximumTools Required Oxidising the Metal: Microcement Trowel
Microcement Mixer
PPEPolishing the Metal: Microcement Trowel
Microcement Mixer
PPEAquatix Only
Oxidising the Metal Polishing the Metal Process Oxidising the Metal: Apply 1 coat of liquid metal & oxidise Polishing the Metal: Apply 2 coat of liquid metal & polish Mix Ratio Oxidising the Metal: 5kg Metal Powder : 1l Metal Resin Polishing the Metal: 5kg Metal Powder : 500ml Aquatix Standard Consumption Oxidising the Metal: 5kg per 10m2 (1 Coat) Polishing the Metal: 10kg per 10m2 (2 Coats) Estimated Drying Time Oxidising the Metal: Before Accelerator:
Minimum 30 minutes
No Maximum
Before Sealers:
Minimum 24 hours
No MaximumPolishing the Metal: Between Coats:
Minimum 30 minutes
No Maximum
Before Polishing:
Minimum 24 hours
No MaximumTools Required Oxidising the Metal: Microcement Trowel
Microcement Mixer
PPEPolishing the Metal: Microcement Trowel
Microcement Mixer
PPEMetal Resin Only
Copper Micrometal Only
Bronze Micrometal Only
Iron Micrometal Only
Aquatix Only
-
After Care
How Long After Install can I Use my Microcement Surface?
You can start to use the microcement surface 48 hours after the final sealer has been applied. It is important to note that whilst light use is fine, we would recommend doing certain activities until 14 days after the last sealer. We’ve broken down some of the more common uses below & included an explanation of what care must be taken during these times:
48 Hours to 14 days After the Last Sealer Has Been Applied
Wet Areas: By this time, the microcement is sufficiently waterproof to allow for use of microcement showers & you can be confident that water splashes won’t cause any problems to the surface. Take care to avoid trapping water against the surface for prolonged time periods – so no wet towels left on the floor, or wet shampoo bottles left on the side.
Fixtures & Fittings: You can also install fixtures & fittings, like 2nd fix electrics and plumbing after 48 hours too. Heavy work is not recommended during this time, but if it does take place then we recommend covering the microcement surfaces with a breathable material and only covering down whilst work is taking place. The protection should lifted off for the majority of the time and certainly through the night. The surface needs to dry out and harden. If airflow is restricted, it could stain permanently & not cure to full strength.
Floors: During this time, floors should only be subjected to light foot traffic. And no part of the microcement should be covered over for prolonged time periods. Like all cementitious products, microcement takes time to full harden, which means it’s at it’s softest for the first 14 days. It needs to be keep well-ventilated so that air can freely flow from the microcement into the atmosphere as it cures.
Fixing to Microcement Surfaces
Microcement can be drilled and screwed into using bits that are suitable for the substrate. Any holes or cuts will need protecting from moisture penetration by either putting silicone into screw holes or by surrounding fixtures & fitting entirely with silicone. Use 100% pure silicone for this job, to ensure good adherence to the sealed microcement.
Care must also be taken not to scratch the sealers whilst installing fixtures & fittings.
No Dragging or Dropping
Dragging heavy objects over the surface, or dropping them onto the surface is not recommended at any time, as damage could occur. Lift furniture rather than dragging it & use lids or felt pads to protect flooring from pressure points or abrasive surfaces.
Microcement is strong, but due to its limited thickness, it will deform in the event of a strong blow if the support beneath deforms. Generally, abrasion and impact resistance is comparable with that of hard wood.
Stain Resistance
Chemical resistance depends on the sealer used to protect the product. Our sealers are among the best in the industry for both hardness & strength. Products containing dyes & acidic or alkaline products like tumeric, vinegar, lemon juice or bleach, may leave slight marks on microcement if left on the surface for prolonged time. If cleaning is done quickly, they shouldn’t stain.
If water stains appear at any time, let the stain dry out & reseal immediately. Stains may become permanent if not treated quickly.
Prolongued Exposure to Water
If water is trapped against the surface for a prolonged length of time it may stain & potentially cause the microcement to blister. It is not advisable to leave wet towels, plant pots, wet shampoo bottles etc. in direct, prolonged contact with the microcement.
Cleaning
Microcement surfaces can be cleaned with any pH neutral cleaning products, so most antbacterial cleaning products.
Do regularly not clean microcement surfaces with aggressive or descaling products, such as those which contain chlorine, bleach and ammonia as they can damage the sealers.
Microne surface can be cleaned with steam mops. But we wouldn’t recommend using steam mops with Microdur surfaces.
Maintenance
Use Cemher Floor Protect every 2 -3 months to protect you microcement and to help build up the sealers. This specially designed product is formulated to maintain and protect microcement surfaces by waterproofing, reviving, and safeguarding previously sealed areas. It effectively restores minor scratches in floors without the use of wax, ensuring that the surface remains scratch-free when walked on.
To use, simply dilute 100ml of the product in 7 liters of water and apply it with a mop or cloth. For optimal results, repeat the application every 2 to 3 months.
Fail to Prepare, Prepare to Fail
Surface prep is the most important part of any job. And because microcement is only 3-4mm finished, it’s more important than ever. But don’t worry, we’ve got you covered. Check out our Surface Prep for detailed guidance on preparing a wide range of surfaces for the microcement application.
Surface Prep
Need Help with your Kit?
Installation issues can happen, but we’re here to help. Our comprehensive troubleshooting guides cover common challenges and proven solutions for microcement application.
View Troubleshooting Guides